- 公開日:
Office 365 E3とは?Apps for enterpriseとの価格の違いなど
本記事では、Office 365 E3を含むOffice 365 Enterpriseのプランと、Microsoft 365 Apps for enterpriseのプランの比較を行っています。
試用版Office 365 E3の契約からセットアップ、解約方法についても解説していますので、必要の際にお役立てください。
Office 365 E3とは?
Office 365 E3とは、Microsoftの大企業向けプランであるOffice 365 Enterpriseで選択できるプランの一つです。Office 365 EnterpriseにはE1、E3、E5の3種類のプランがあり、それぞれ価格や使用できる機能の範囲が異なります。
大企業向けプランの特徴としては、ユーザー数が無制限であることや、管理面やセキュリティ面が通常のプランよりも強化されていることが挙げられます。
今回比較するMicrosoft 365 Apps for enterpriseも同様に大企業向けのプランで、こちらはWordやExcelなどOfficeの基本的なデスクトップアプリだけを使用したい場合に特化したサブスクリプションサービスです。
Microsoft 365 Apps for enterpriseについての詳細は、以下の記事をご参照ください。
Microsoft 365 Apps for enterprise(Office 365 ProPlus)とは?
価格と基本的な機能の比較表
以下の表では、Office 365 EnterpriseとMicrosoft 365 Apps for enterpriseの価格や、基本的な機能の違いを比較しています。
| 項目 | Microsoft 365 Apps for enterprise | Office 365 E1 | Office 365 E3 | Office 365 E5 |
|---|---|---|---|---|
| 年間契約時の税込価格 1ユーザー/月相当 | 1,430円/月(17,160円/年) | 957円/月(11,484円/年) | 2,387円/月(28,644円/年) | 4,191円/月(50,292円/年) |
| インストール可能台数 | 各端末ごとに最大5台※1 | 各端末ごとに最大5台(モバイル版のみ)※2 | 各端末ごとに最大5台※1 | 各端末ごとに最大5台※1 |
| Word | ○ | ○(WEB/モバイル版のみ) | ○ | ○ |
| Excel | ○ | ○(WEB/モバイル版のみ) | ○ | ○ |
| PowerPoint | ○ | ○(WEB/モバイル版のみ) | ○ | ○ |
| OneNote | ○ | ○(WEB/モバイル版のみ) | ○ | ○ |
| Access(Windows PC のみ) | ○ | - | ○ | ○ |
| Outlook | ○ | ○(WEB/モバイル版のみ) | ○ | ○ |
| Exchange | - | ○ | ○ | ○ |
※1 ユーザー1人あたり最大5台のWindows PCまたはMac、5台のタブレット、5台のスマートフォンにインストールできます。
※2 ユーザー1人あたり最大5台のタブレットと5台のスマートフォンにOffice Mobile アプリをインストールできます。デスクトップアプリは含まれていません。
組織向け機能の比較表
以下の表では、チームや組織の仕事を効率化するために使用できるアプリケーションなどの違いを比較しています。
| 項目 | Microsoft 365 Apps for enterprise | Office 365 E1 | Office 365 E3 | Office 365 E5 |
|---|---|---|---|---|
| Teams | - | ○ | ○ | ○ |
| 電話システム | - | - | - | ○ |
| SharePoint | - | ○ | ○ | ○ |
| Yammer | - | ○ | ○ | ○ |
| OneDrive(容量) | ○(1TB) | ○(1TB) | ○(1~5TB+)※3 | ○(1~5TB+)※3 |
| Stream | - | ○ | ○ | ○ |
| Sway | ○ | ○ | ○ | ○ |
| Forms | ○ | ○ | ○ | ○ |
| Lists | - | - | - | - |
| Power Apps | - | ○ | ○ | ○ |
| Power Automate | - | ○ | ○ | ○ |
| Power Virtual Agents | ○ | ○ | ○ | ○ |
| CDS Project Oakdale | ○ | ○ | ○ | ○ |
| Planner | - | ○ | ○ | ○ |
| To Do | - | ○ | ○ | ○ |
| MyAnalytics | - | ○ | ○ | ○ |
| Power BI Pro | - | - | - | ○ |
| 脅威対策 | - | - | - | ○ |
| 情報保護 | - | - | ○ | ○ |
| 高度なコンプライアンス | - | - | ○ | ○ |
※3 初期容量としてユーザー1人あたり5TBが割り当てられ、追加の容量が必要になった場合は、その都度Microsoft サポートにリクエストできます。サブスクリプションのユーザー数が5人未満の場合は、ユーザー1人あたり1TBのストレージが割り当てられます。
試用版Office 365 E3について
Office 365 Enterpriseの中でE3とE5のプランには、1ヶ月の無料試用版があります。
今回はOffice 365 E3の無料試用版の契約からセットアップ、解約方法までをご紹介します。
無料試用版に追加できるユーザーは、最大25人までとなっています。
試用版Office 365 E3の契約/セットアップ方法
試用版Office 365 E3の契約からセットアップ方法までを解説します。
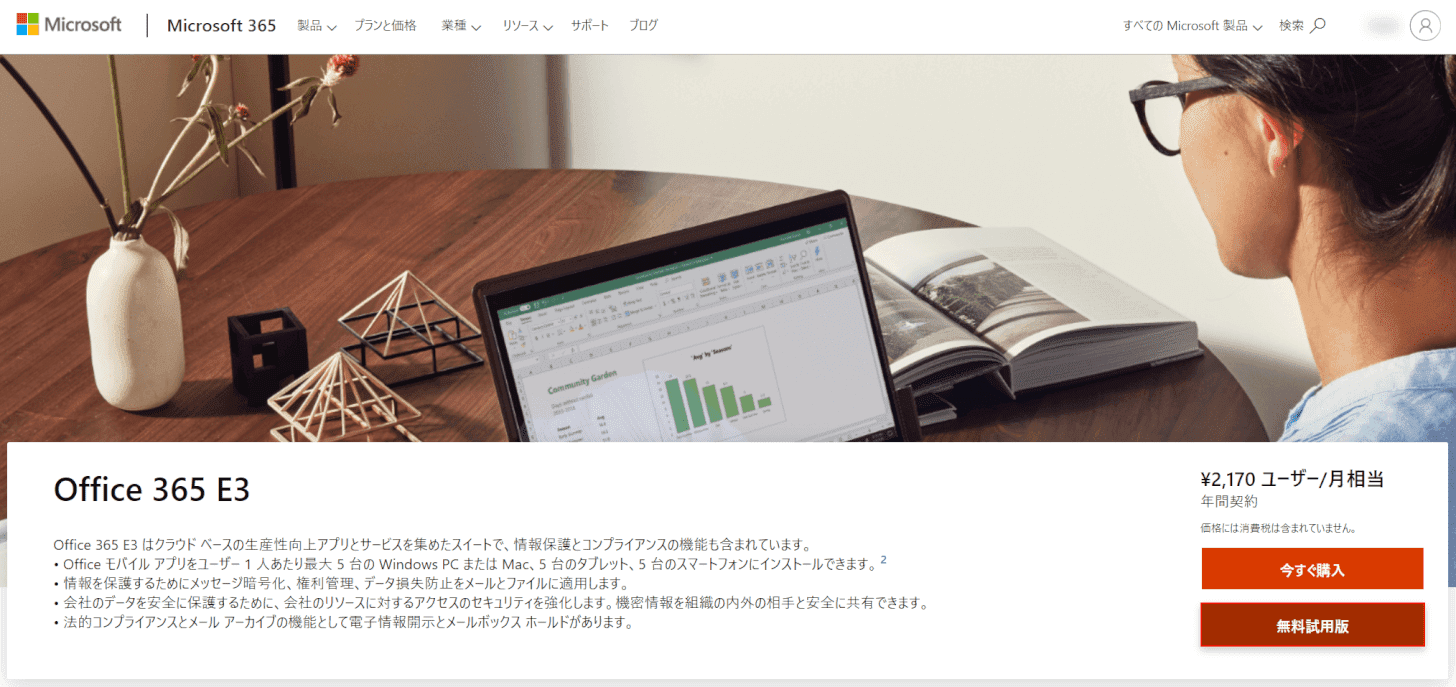
Office 365 E3の購入ページにアクセスし、【無料試用版】ボタンを押します。
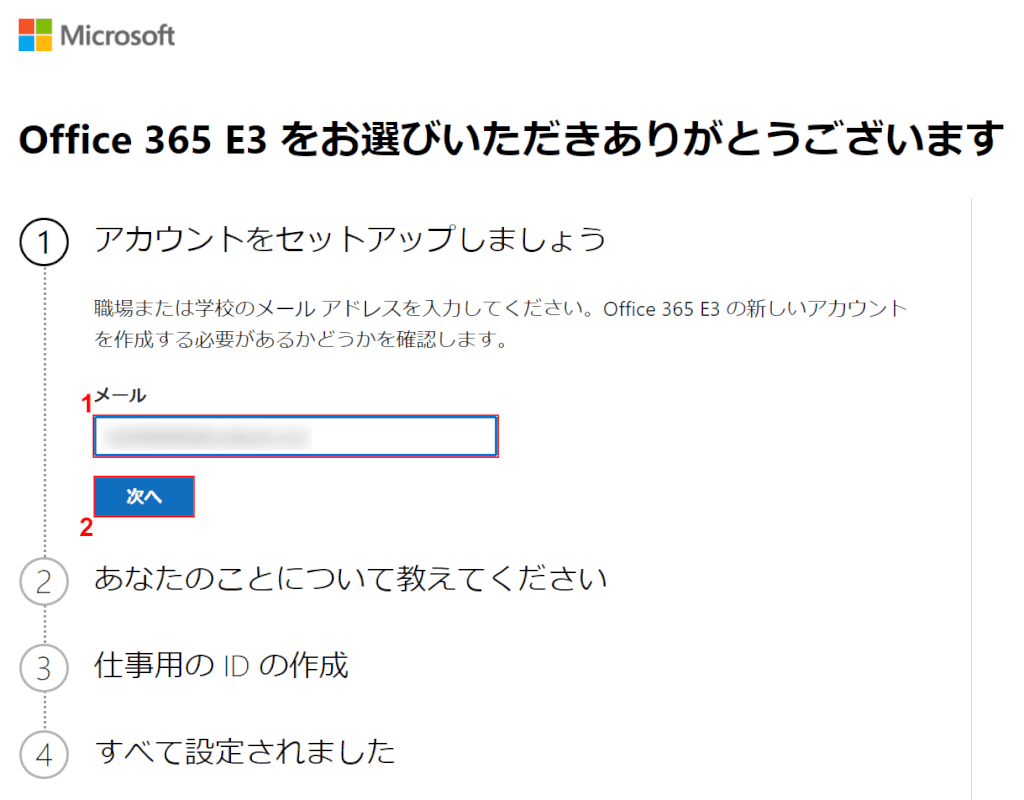
「Office 365 E3 をお選びいただきありがとうございます」ダイアログボックスが表示されました。
①『職場または学校のメールアドレス』を入力し、②【次へ】ボタンを押します。
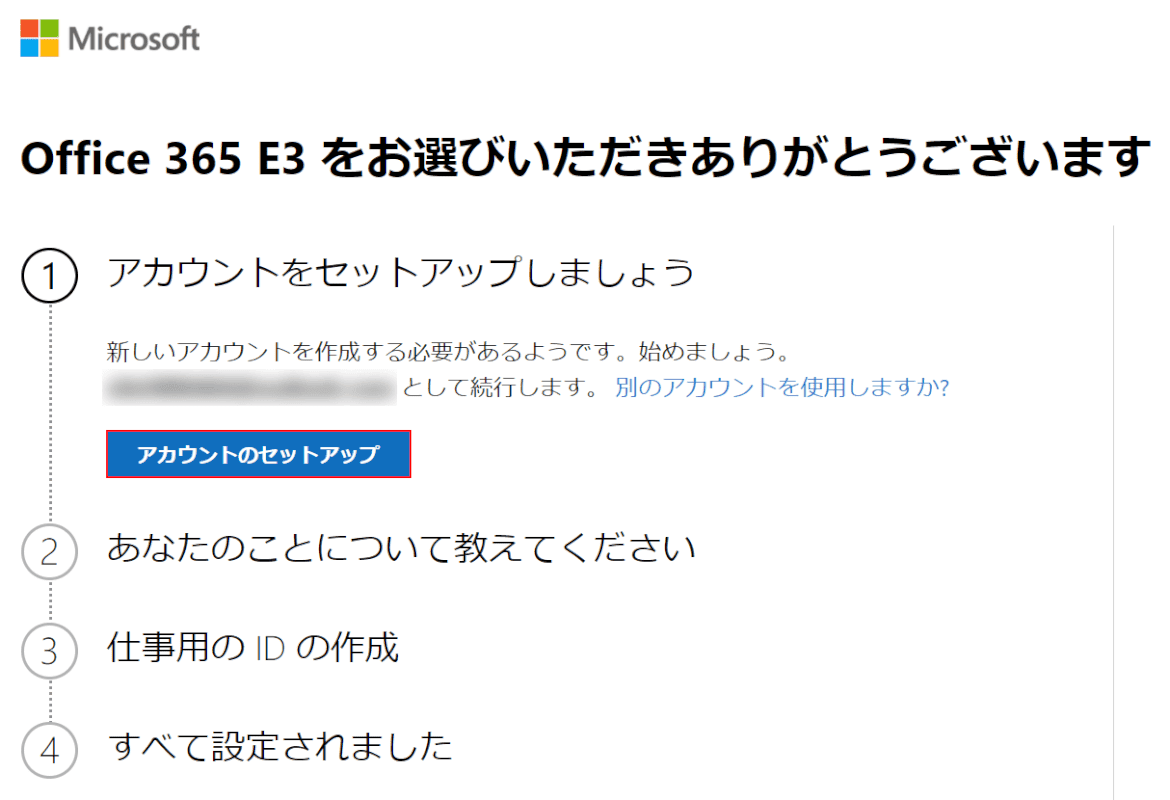
【アカウントのセットアップ】ボタンを押します。
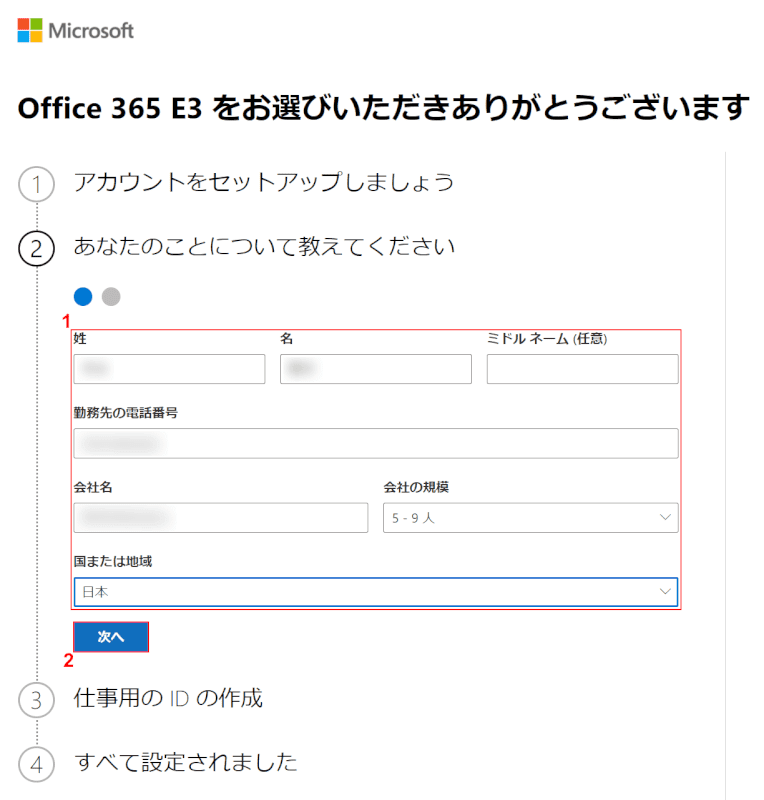
①『赤枠内』の項目を入力し、②【次へ】ボタンを押します。
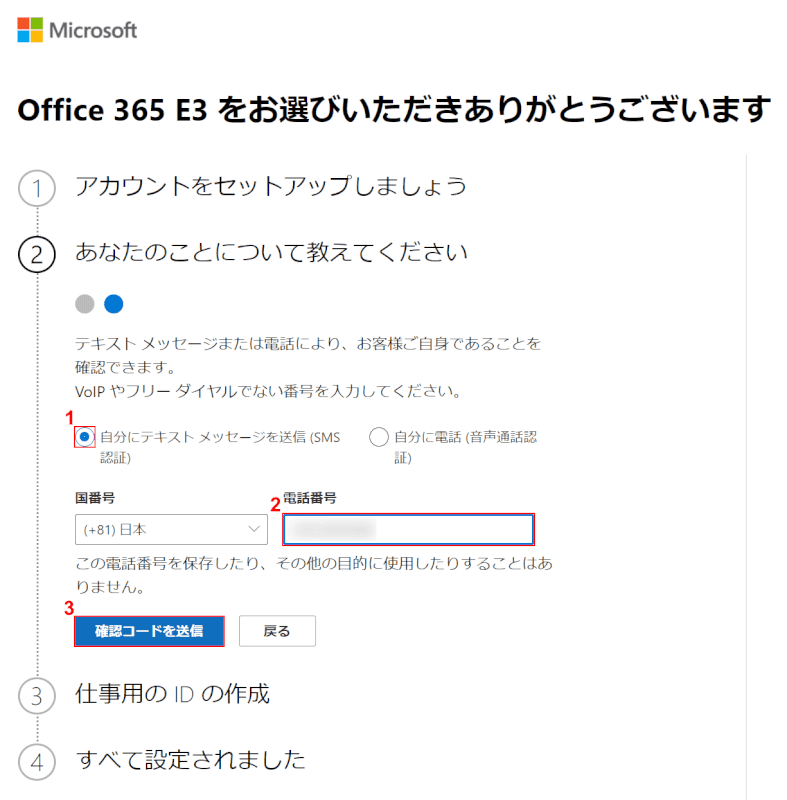
①【任意の本人確認方法(例:自分にテキスト メッセージを送信(SMS 認証))】を選択し、②『電話番号』を入力します。
③【確認コードを送信】ボタンを押します。

番号を入力したデバイスにメッセージが届きます。
【メッセージ】アプリを開きます。
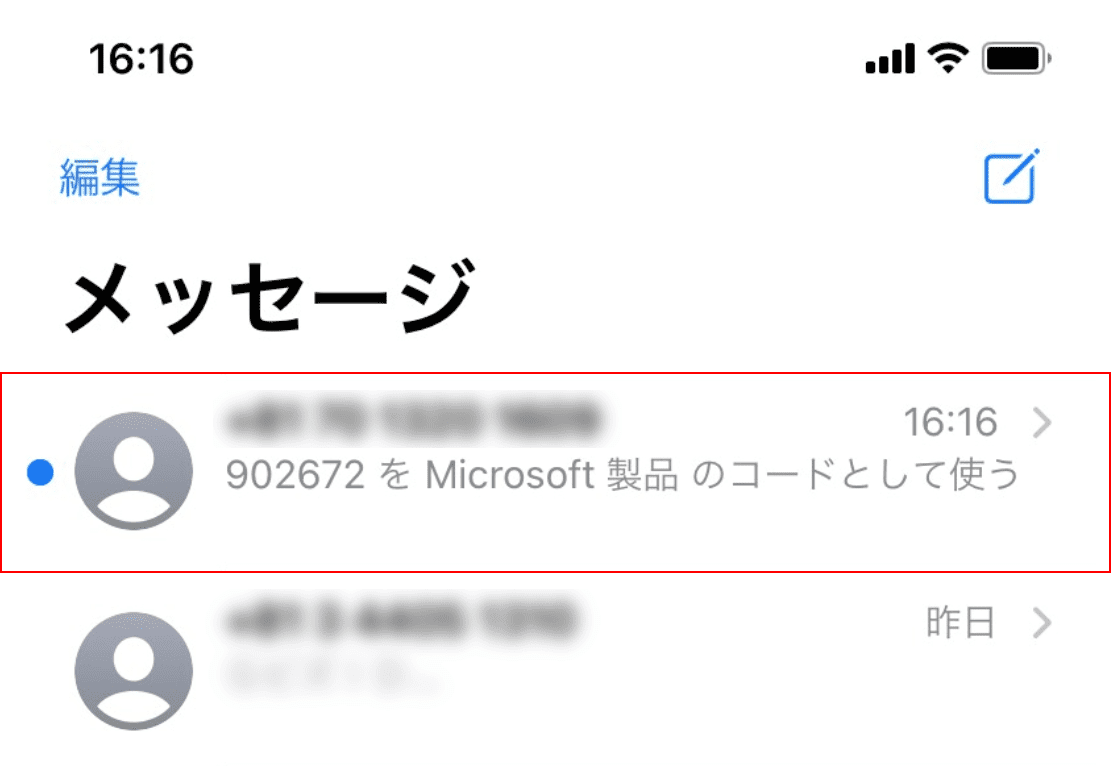
【Microsoftから届いたメッセージ】を選択します。
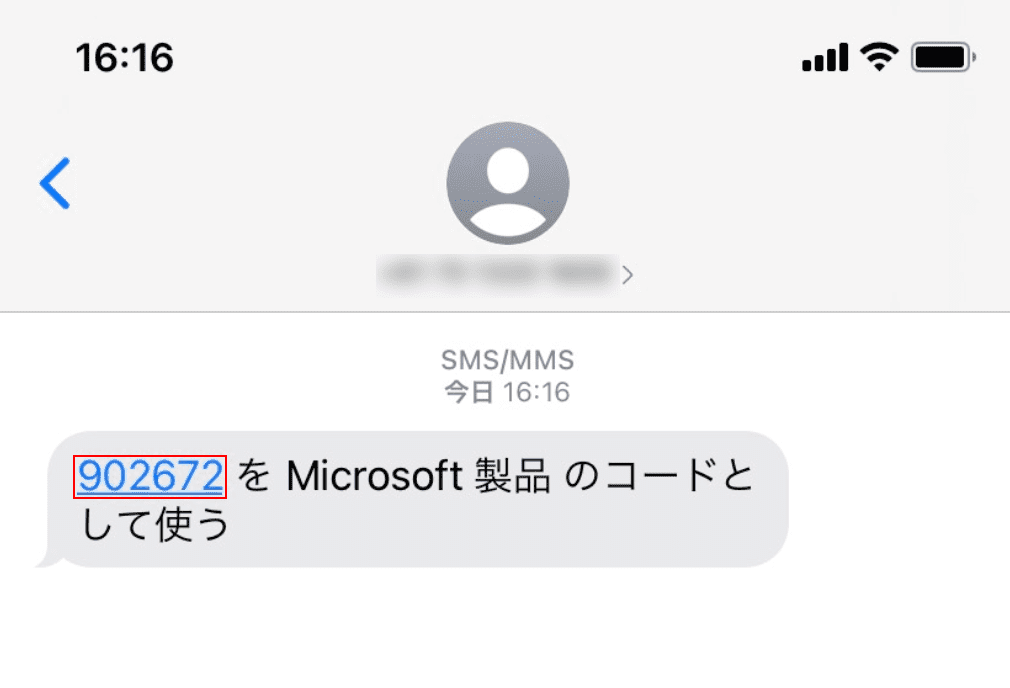
「認証コード」を確認します。
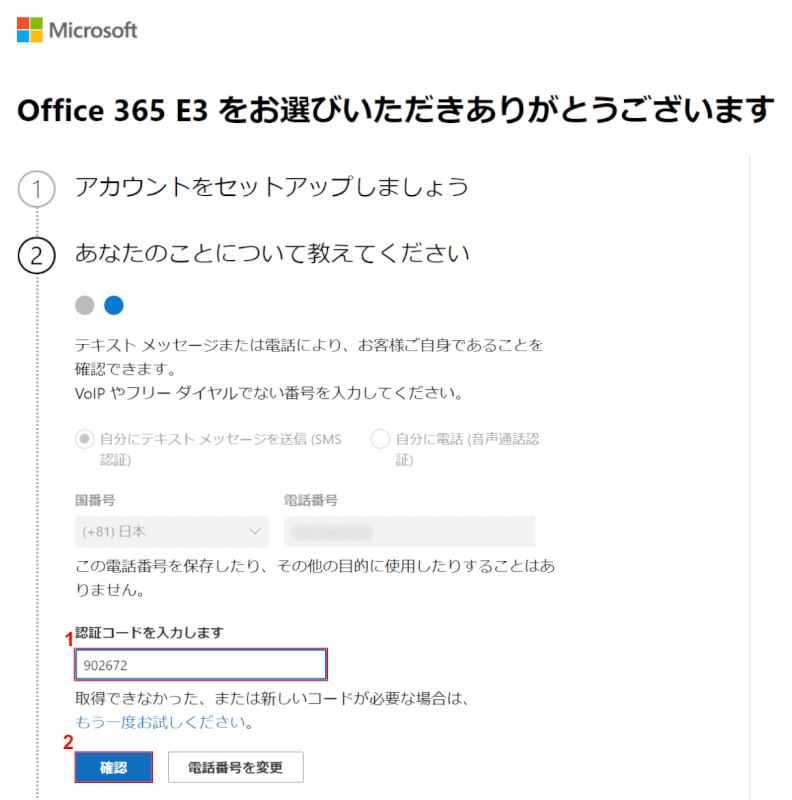
①『認証コード』を入力し、②【確認】ボタンを押します。
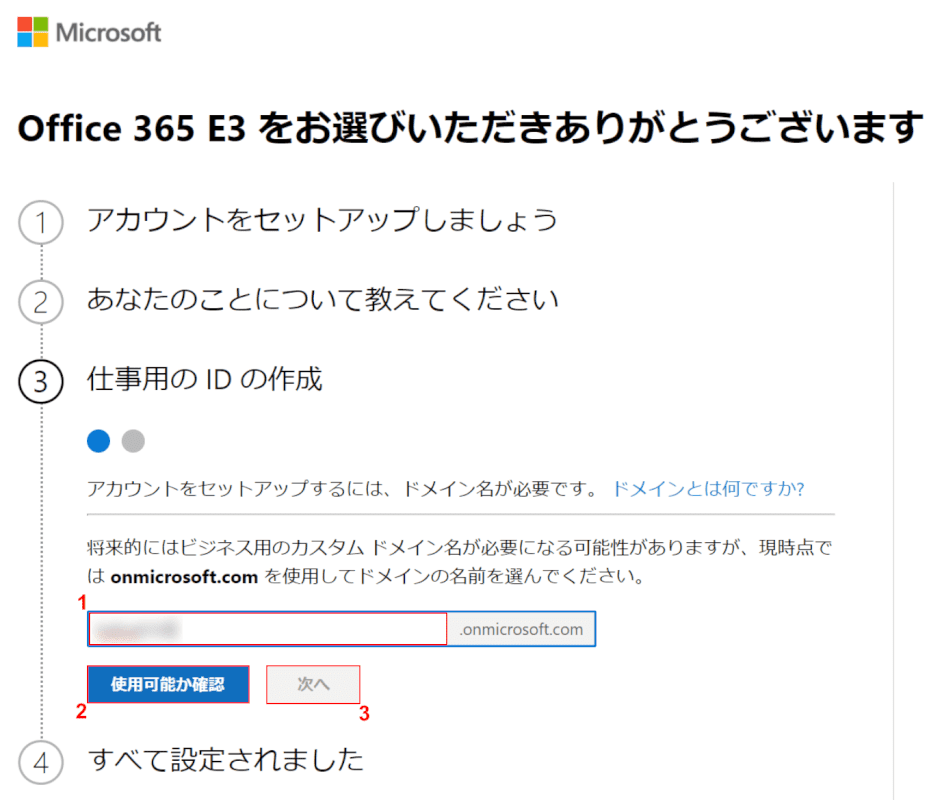
①『任意のドメイン名』を入力し、②【使用可能か確認】ボタン、③【次へ】ボタンの順に押します。
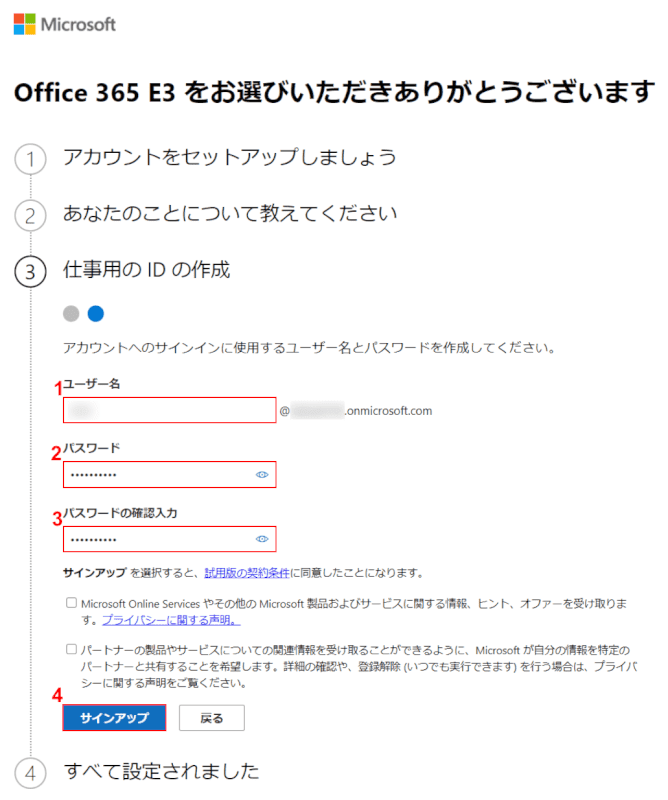
①『ユーザー名』、②『パスワード』、③『パスワードの確認入力』の順に入力します。
④【サインアップ】ボタンを押します。
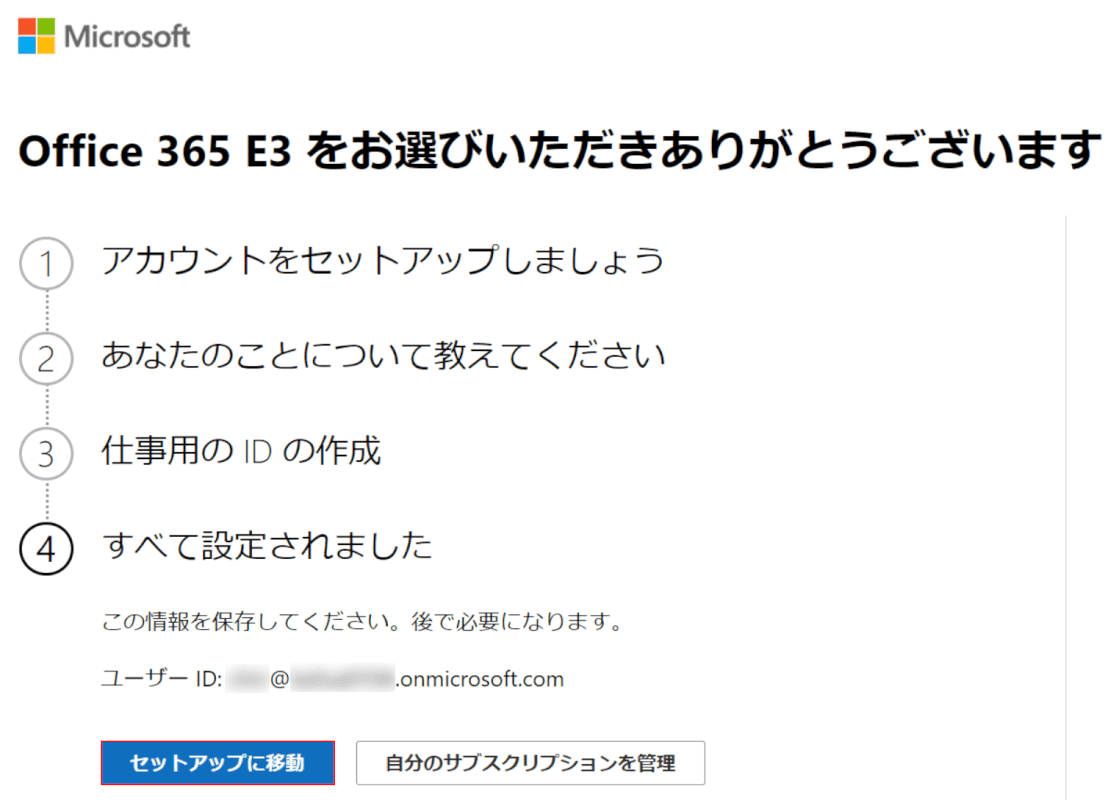
【セットアップに移動】ボタンを押します。
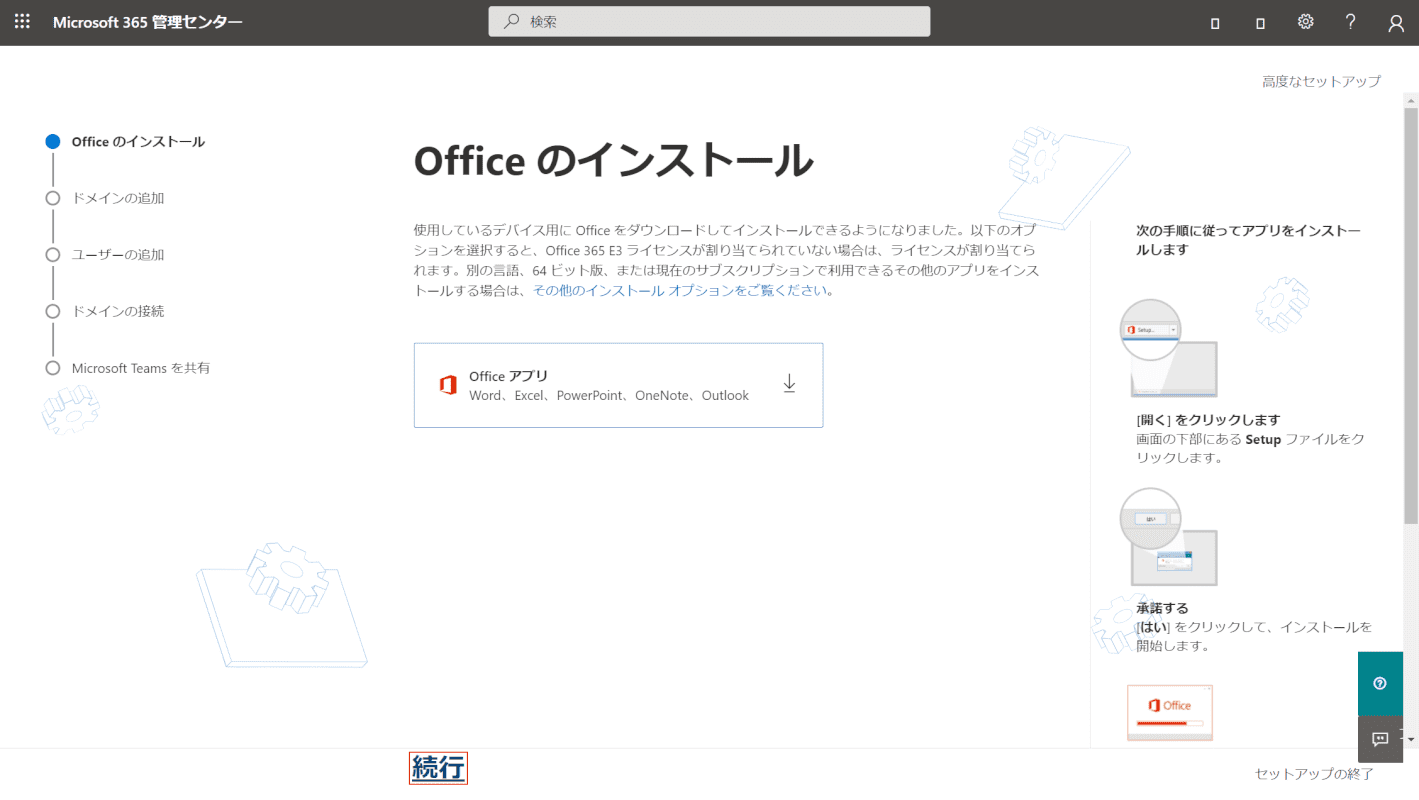
「Microsoft 365 管理センター」のセットアップ画面が表示されました。
「Office アプリ」ボタンを押すと、デバイスにOfficeアプリをインストールできます。
アプリのインストールは後からでも可能なので、今回はインストールせずに画面下の【続行】を押します。
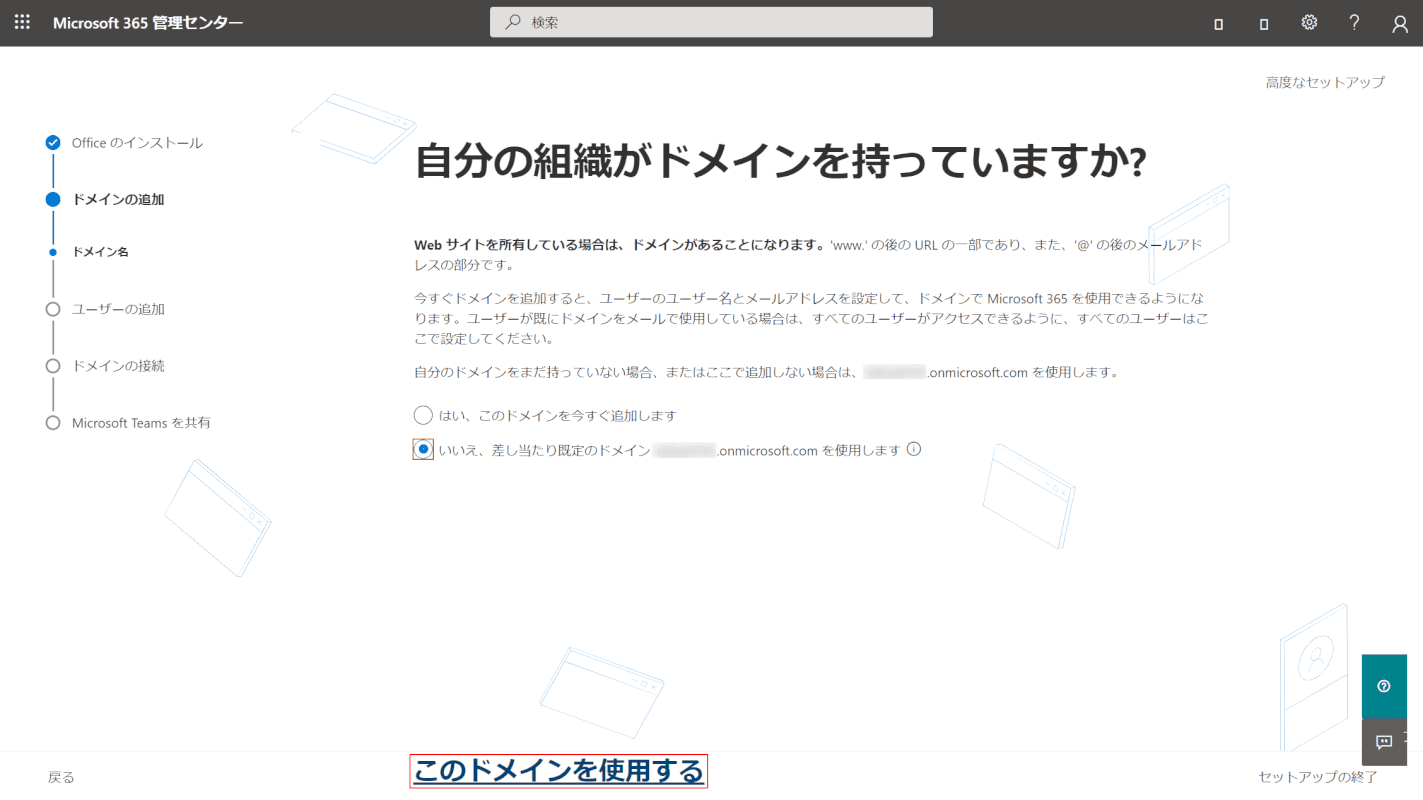
①ドメインについて【任意の項目】を選択し、②【このドメインを使用する】を押します。
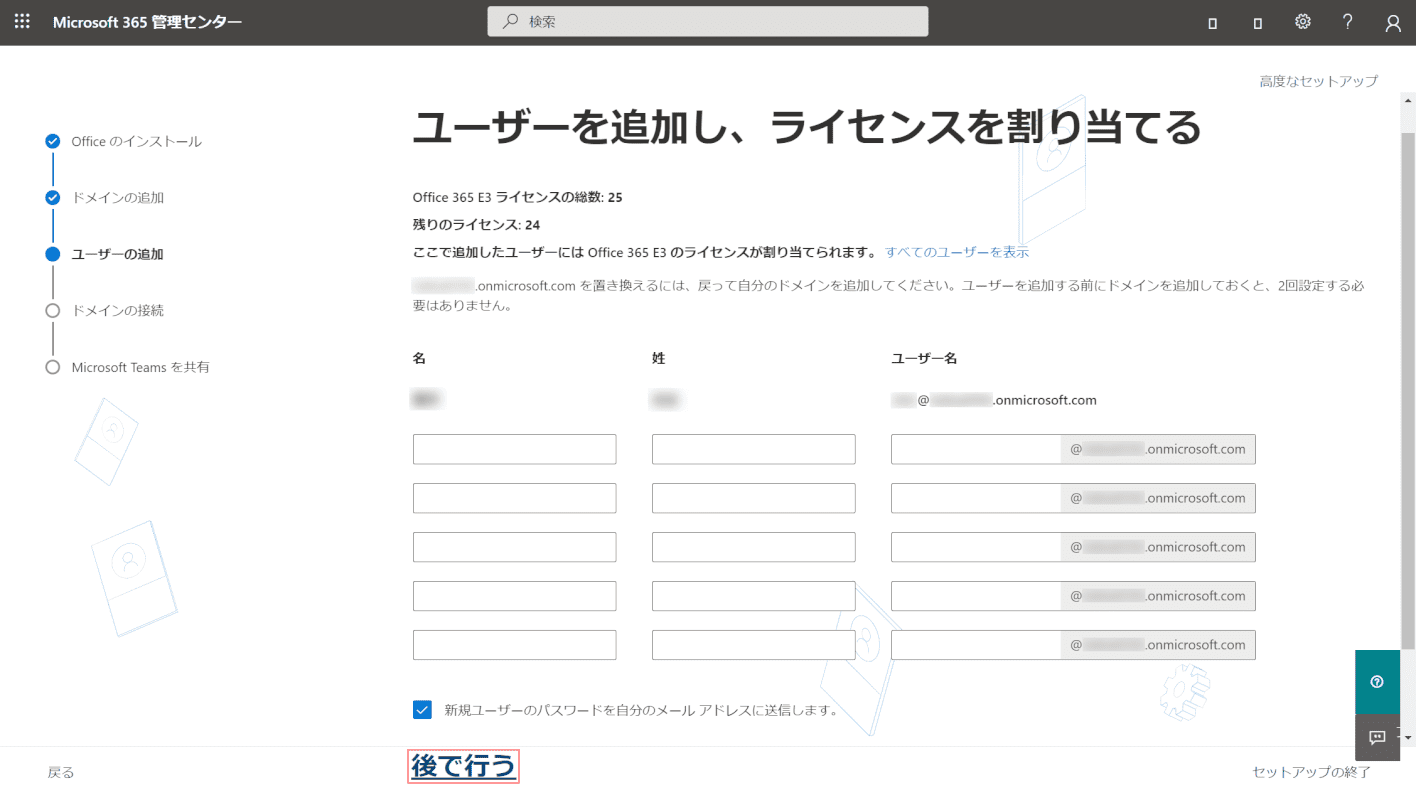
表示された項目に情報を入力すると、ライセンスを割り当てるユーザーの追加が可能です。
ユーザーの追加は後からでも可能なので、今回は【後で行う】を押します。
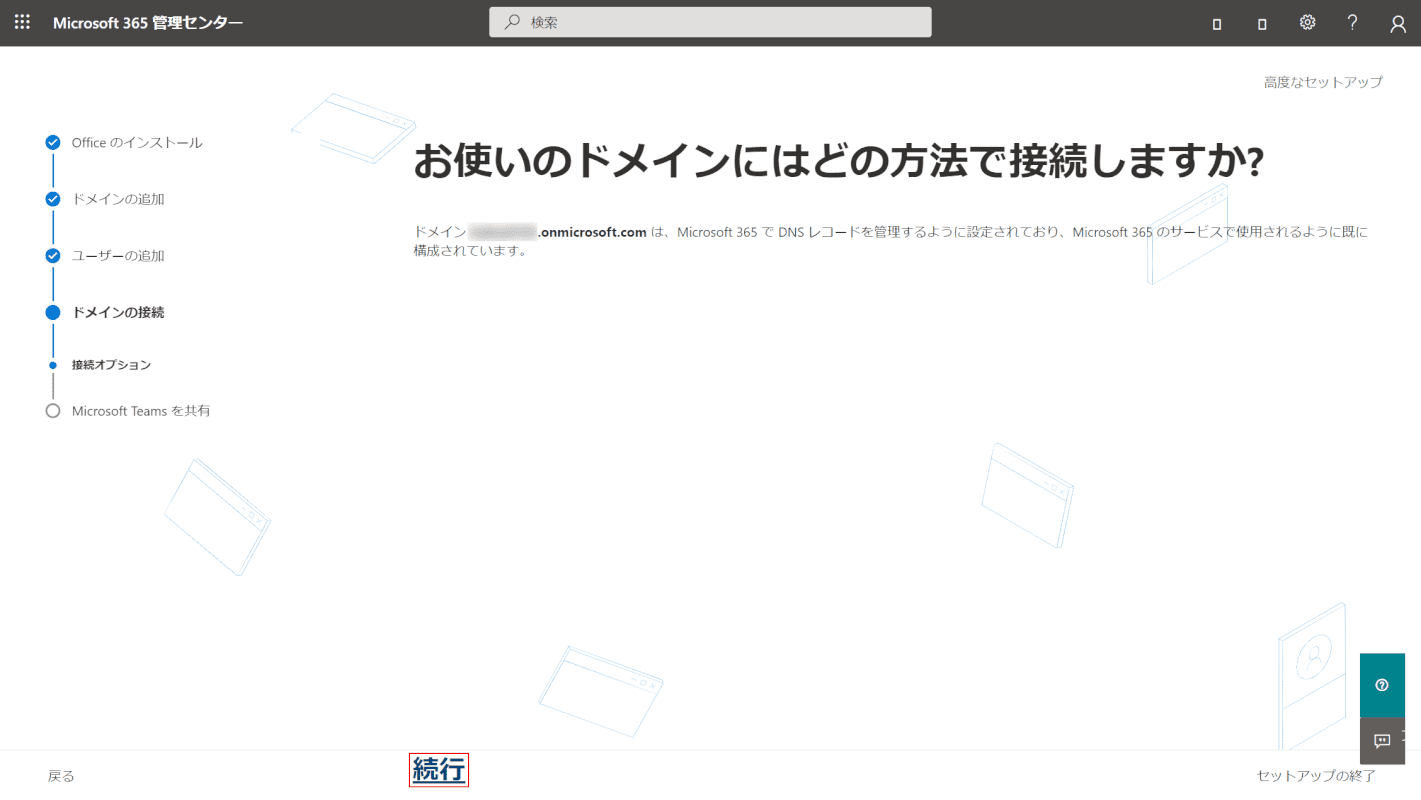
【続行】を押します。
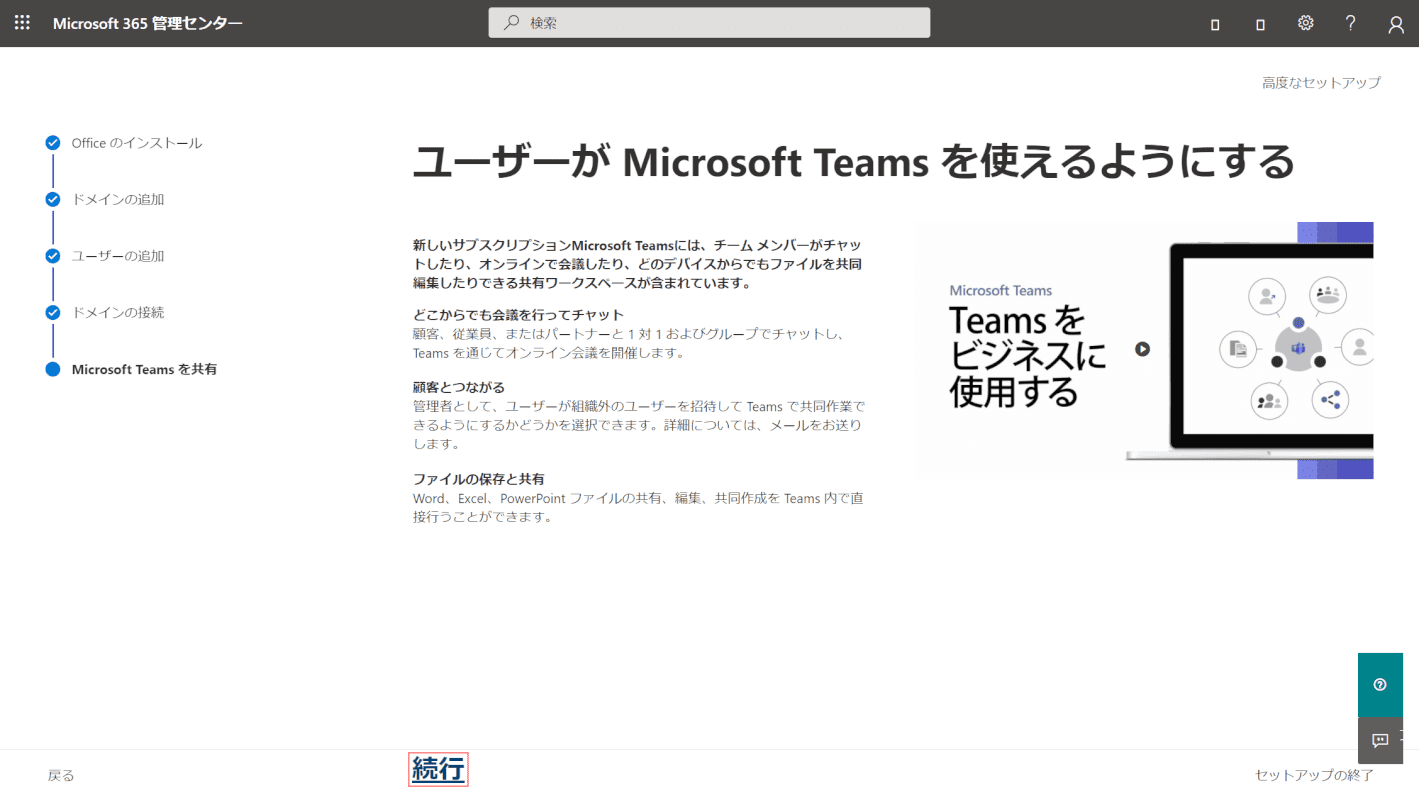
【続行】を押します。
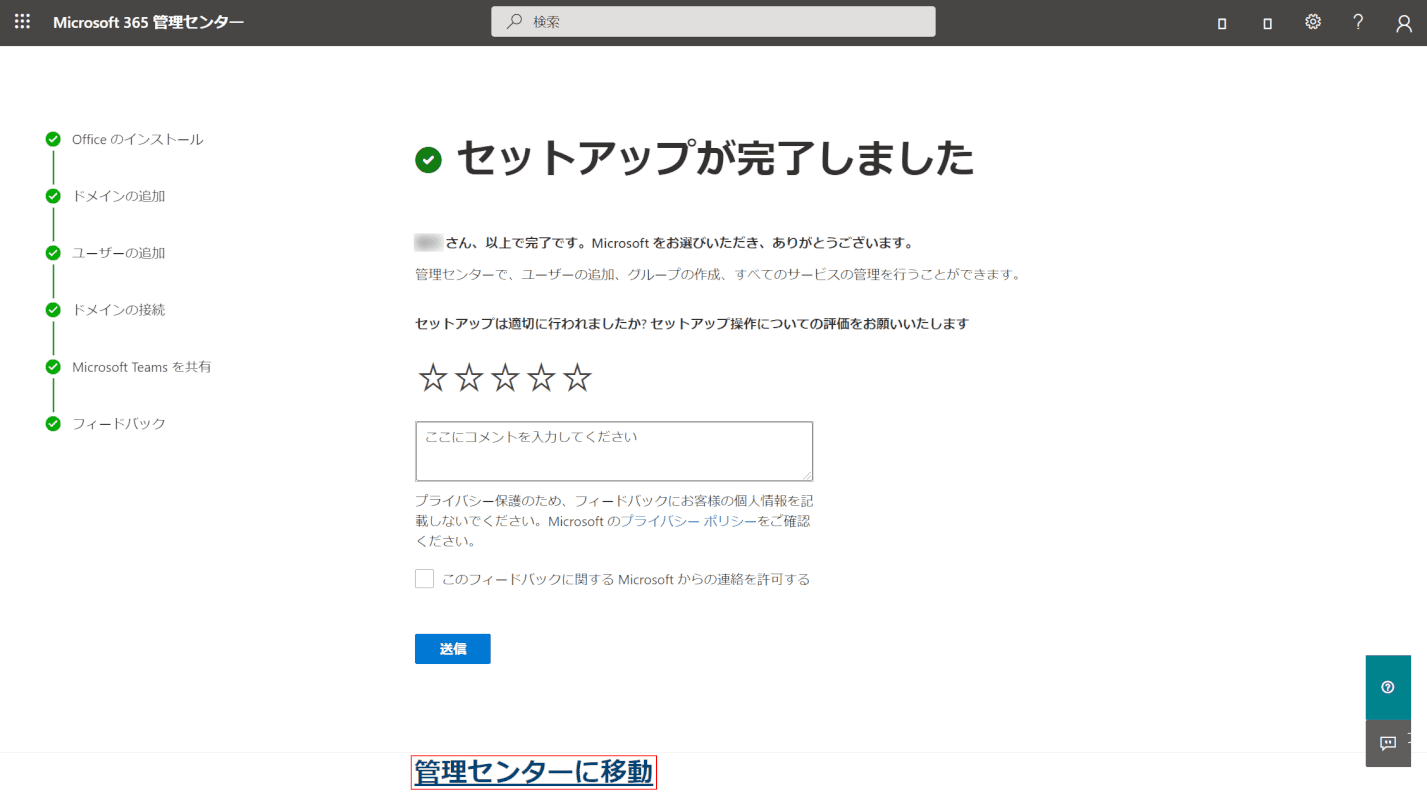
セットアップが完了しました。
【管理センターに移動】を押します。
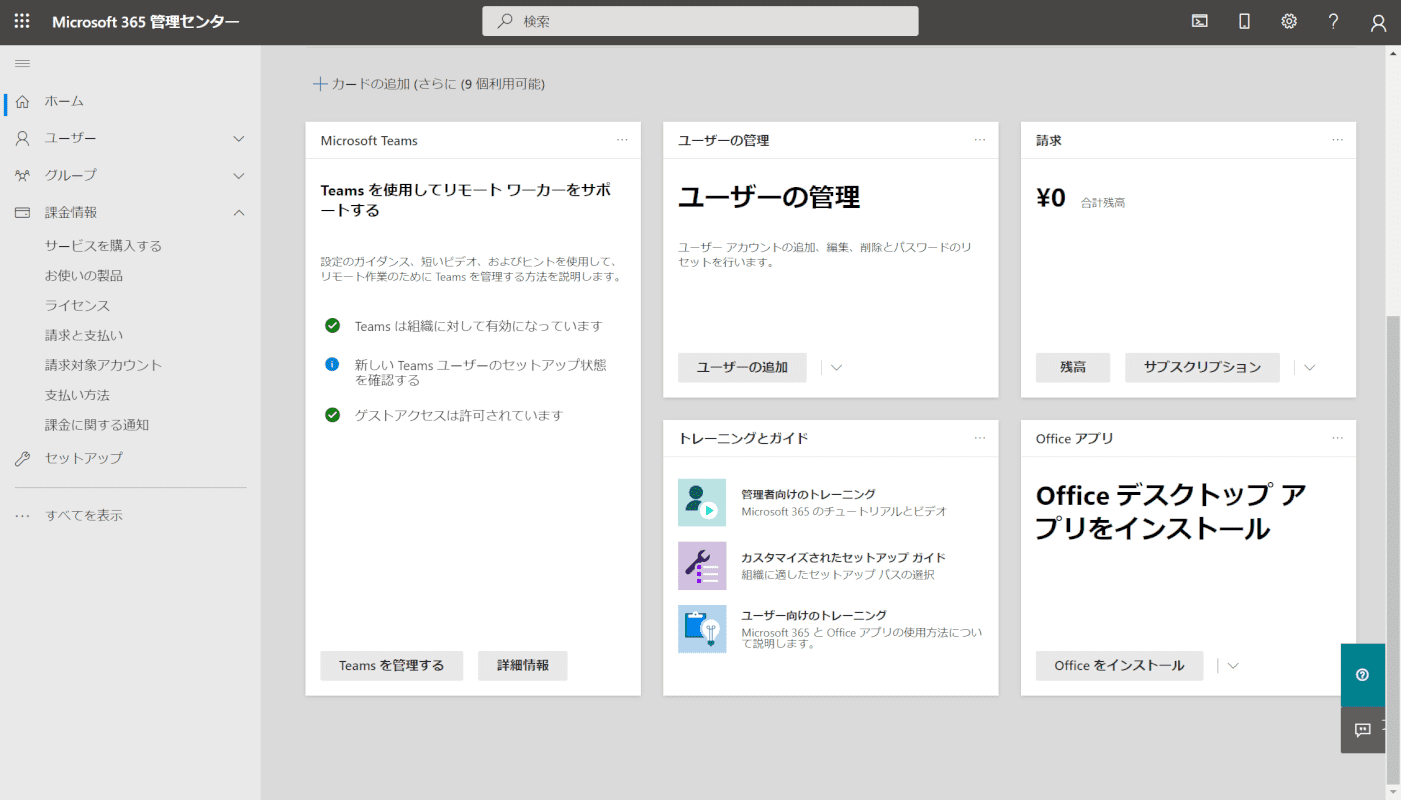
「Microsoft 365 管理センター」に移動しました。
ユーザーの追加やOfficeのインストール、その他サービスの管理をこのページで行えます。
Microsoft 365 管理センターの操作については、以下の記事もあわせてご参照ください。
試用版Office 365 E3の解約方法
試用版Office 365 E3の解約方法について解説します。
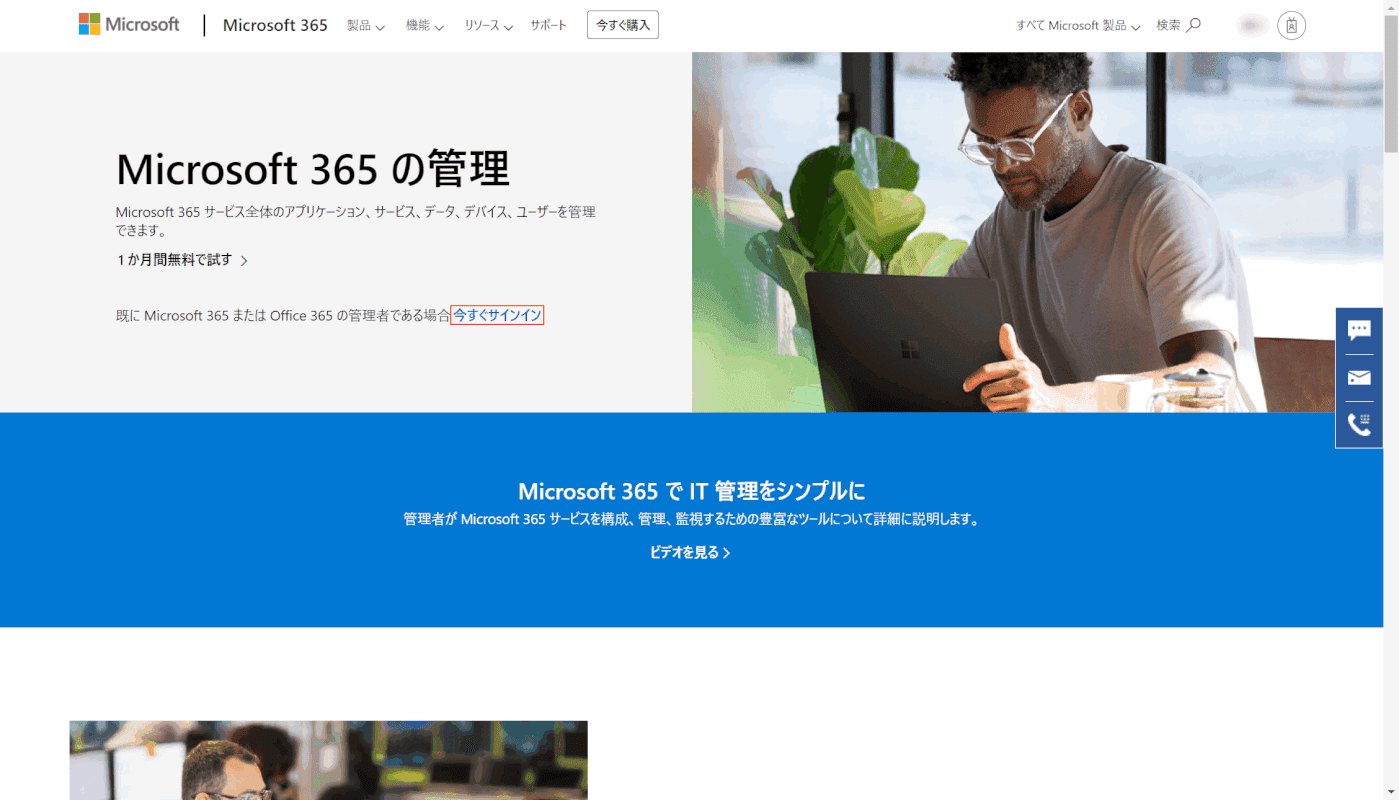
公式サイト「Microsoft 365 の管理」にアクセスし、【今すぐサインイン】を押します。
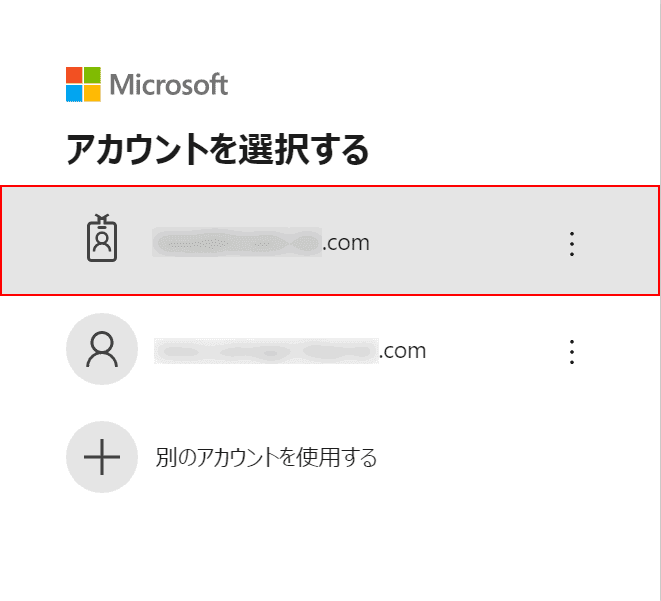
Microsoftアカウントのサインインページが表示されました。
【サインインするアカウント(メールアドレス)】を選択します。
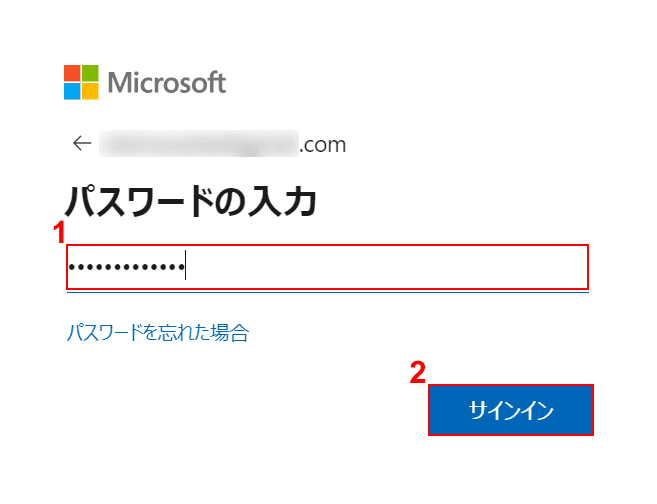
①『パスワード』を入力し、②【サインイン】ボタンを押します。
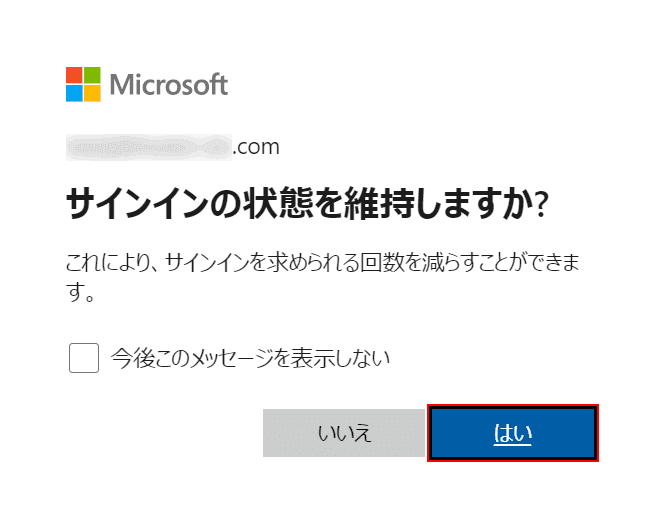
サインイン状態の維持に関して、【任意の回答(例:はい)】ボタンを押します。
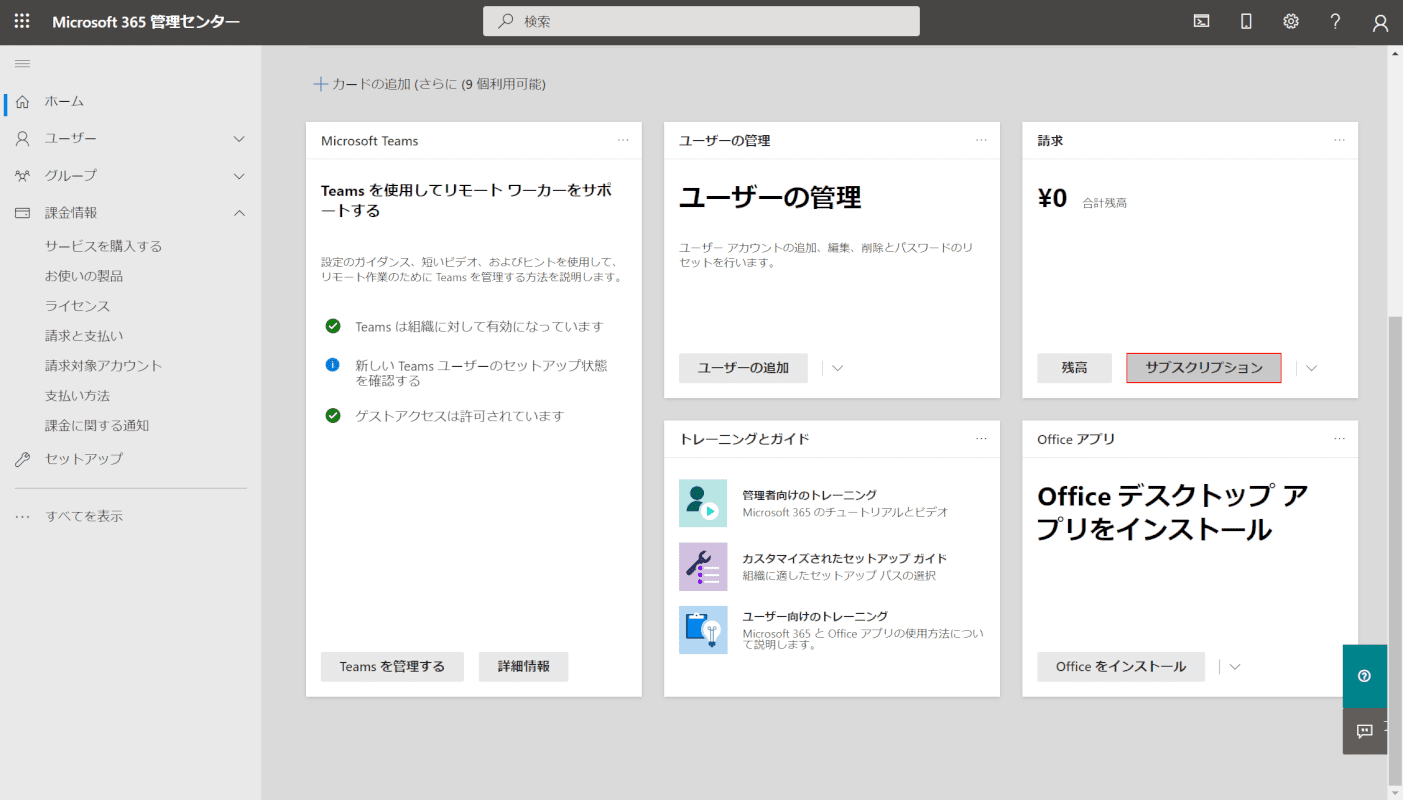
Microsoft 365 管理センターにサインインしました。
【サブスクリプション】ボタンを押します。
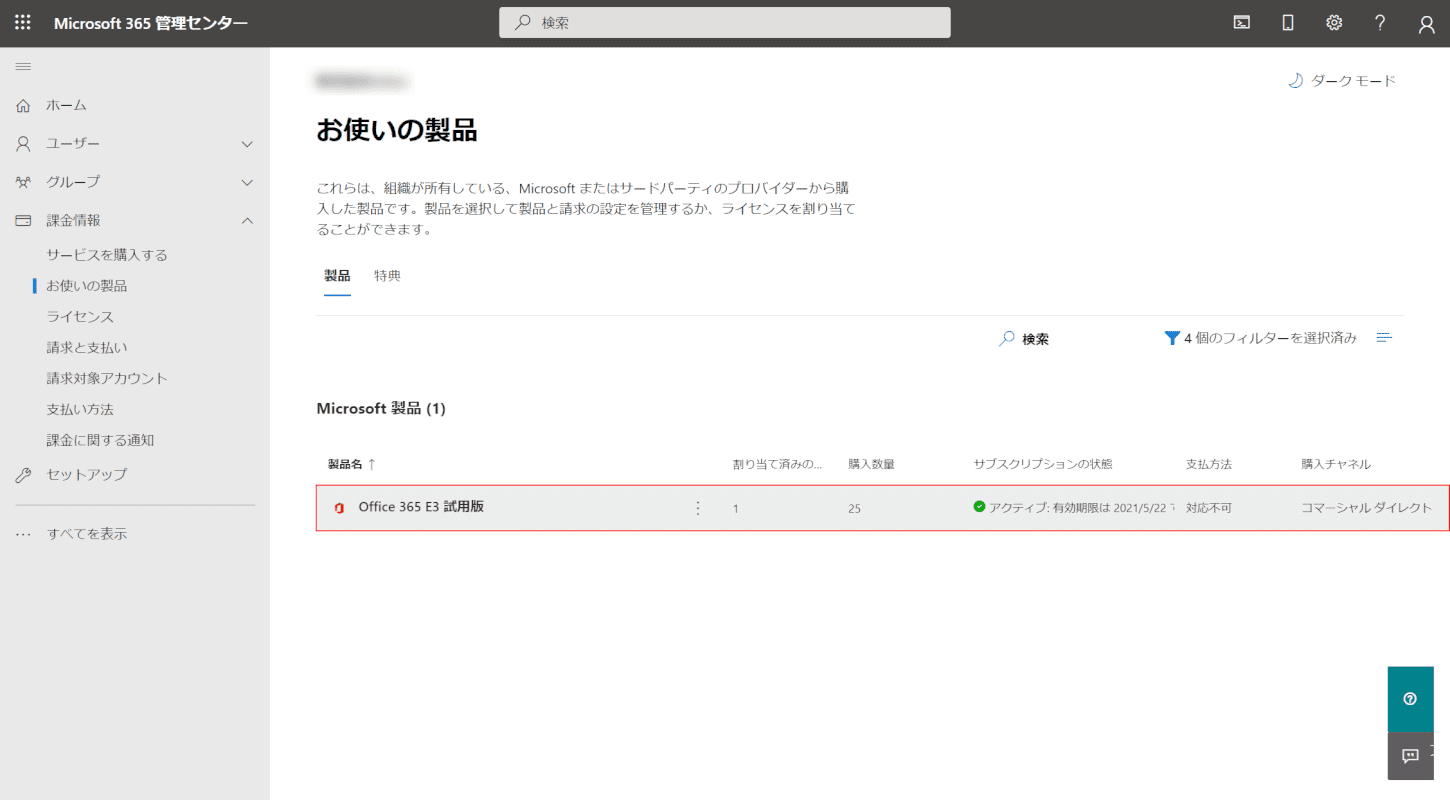
【Office 365 E3 試用版】を選択します。
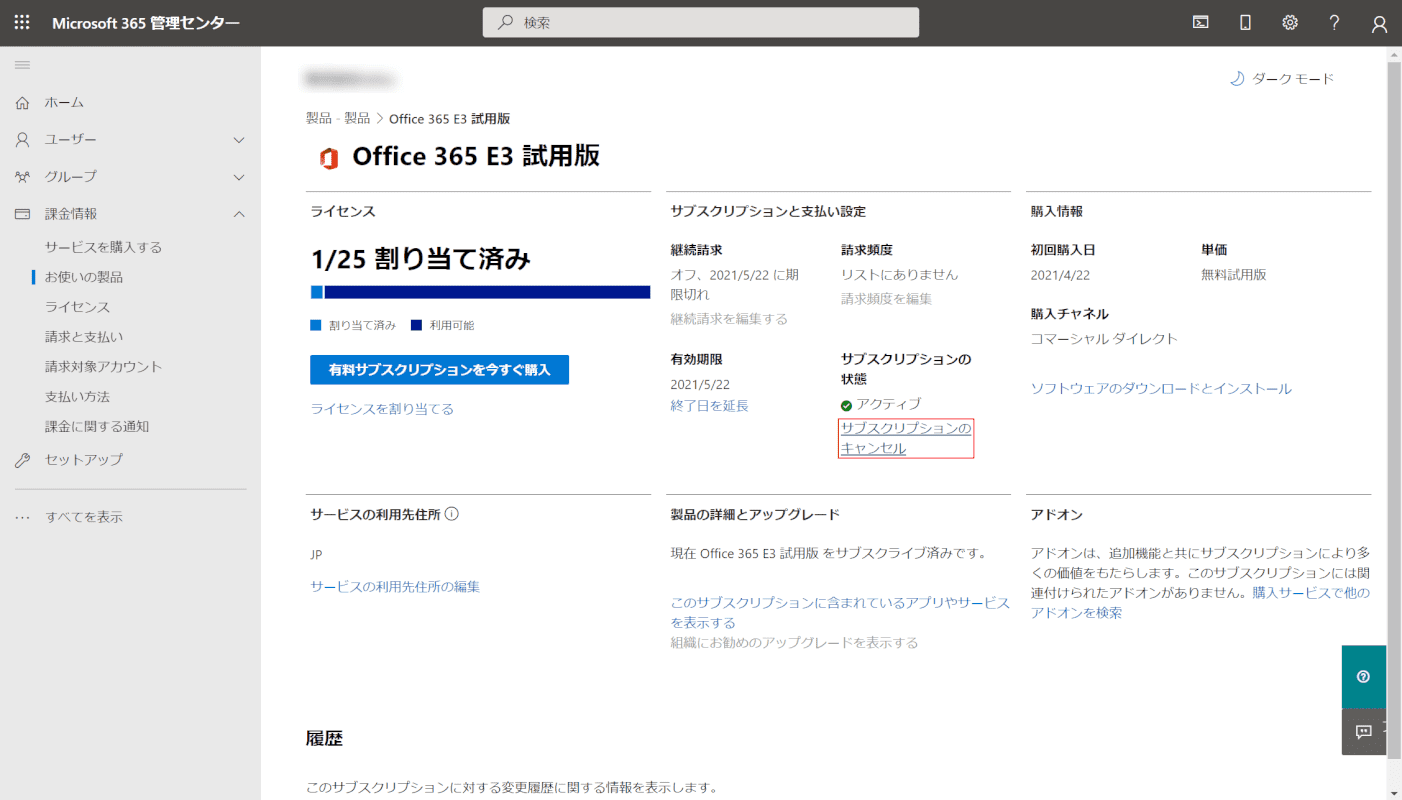
【サブスクリプションのキャンセル】を選択します。
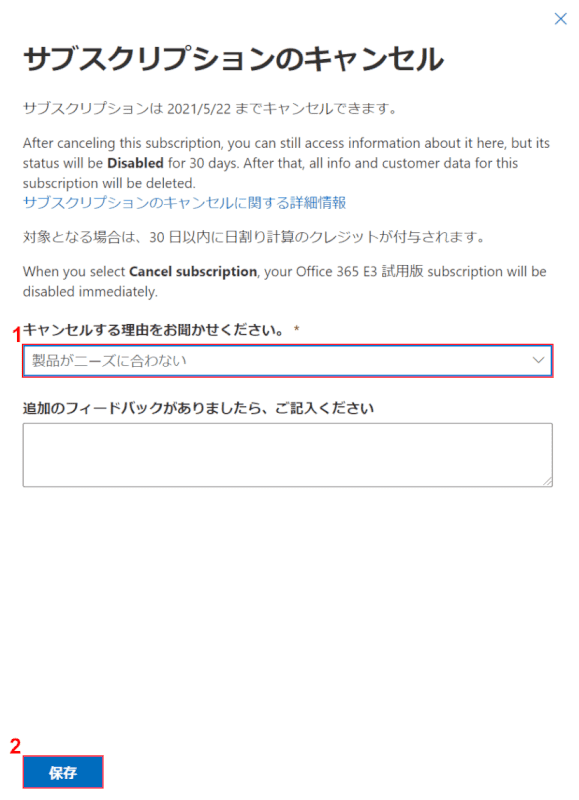
「サブスクリプションのキャンセル」ダイアログボックスが表示されました。
①【キャンセルする理由(例:製品がニーズに合わない)】を選択し、②【保存】ボタンを押します。

試用版Office 365 E3の解約が完了しました。