- 公開日:
iPadでPDFを保存するには(PDFへの変換方法や出力方法など)
この記事では、iPadでPDFを保存するために使うアプリの紹介や、写真のPDFへの変換方法など、iPadでPDFを保存する様々な方法をご紹介します。
iPadでPDFを保存できるアプリ

Apple純正アプリ「ファイル」では、iPad本体やiCloud、OneDriveなどの他社製クラウドにPDFを保存することができます。

Apple純正アプリ「Apple Books」では、メールやSMSからPDFを保存したり、WebページをPDFへ変換して保存することができます。

Apple純正アプリ「メモ」では、メールやSMSからPDFを保存したり、紙の書類をスキャンしPDF化して保存することができます。
Microsoft Officeのクラウド「Microsoft OneDrive」は、「ファイル」の保存先に選択することが可能です。保存されたPDFにメモを加えたり、他のユーザーとPDFを共有することができます。
ダウンロードしたPDFを保存する方法
このセクションではメールやSMSに添付されたPDFを「ファイル」を使って、iPad本体に保存する方法をご紹介します。
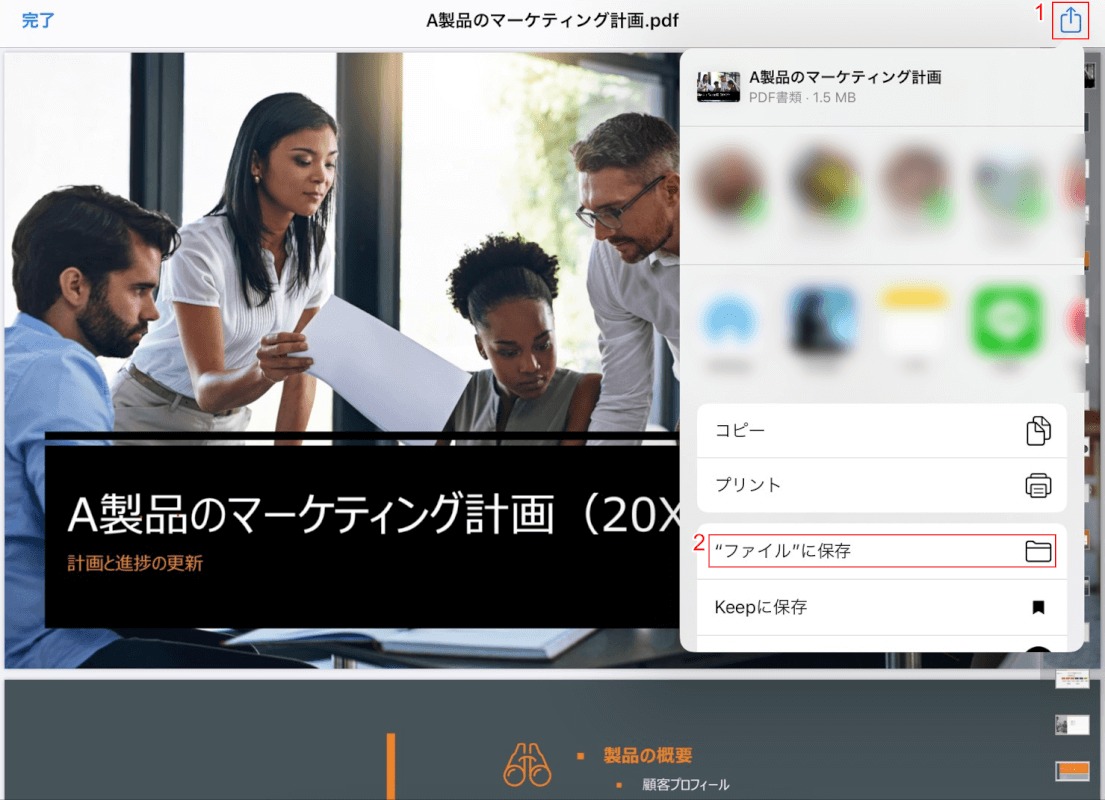
PDFを開き、①【共有】、②【"ファイル"に保存】の順に選択します。
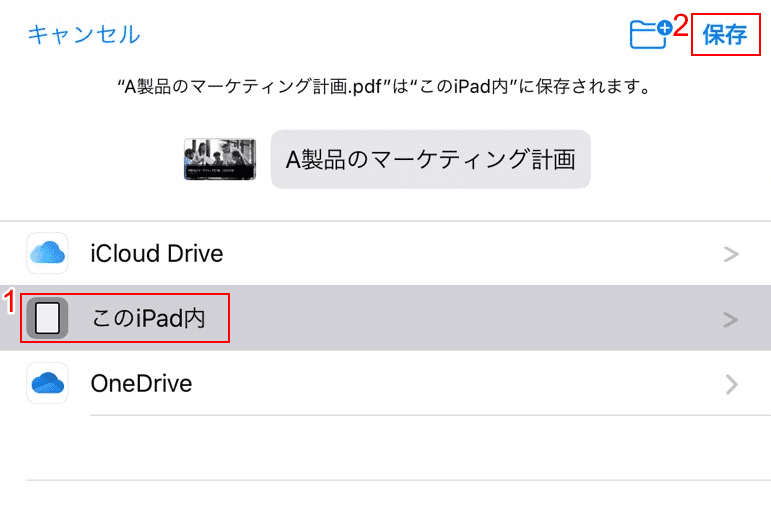
①【このiPad内】、②【保存】の順に選択します。PDFがiPadに保存されました。
今回は、iPad本体に保存しましたが、iCloudやOneDriveなどのクラウドにも同様に保存することができます。
PDFにメモを加えて保存する方法
Apple Booksの場合
Apple Booksでは、WebページをPDFへ変換して保存し、メモ書きなどを加えることができます。
このセクションでは、WebページをPDF化し、Apple Pencilでメモを書き込み保存する方法をご紹介します。
WebページをPDF化する
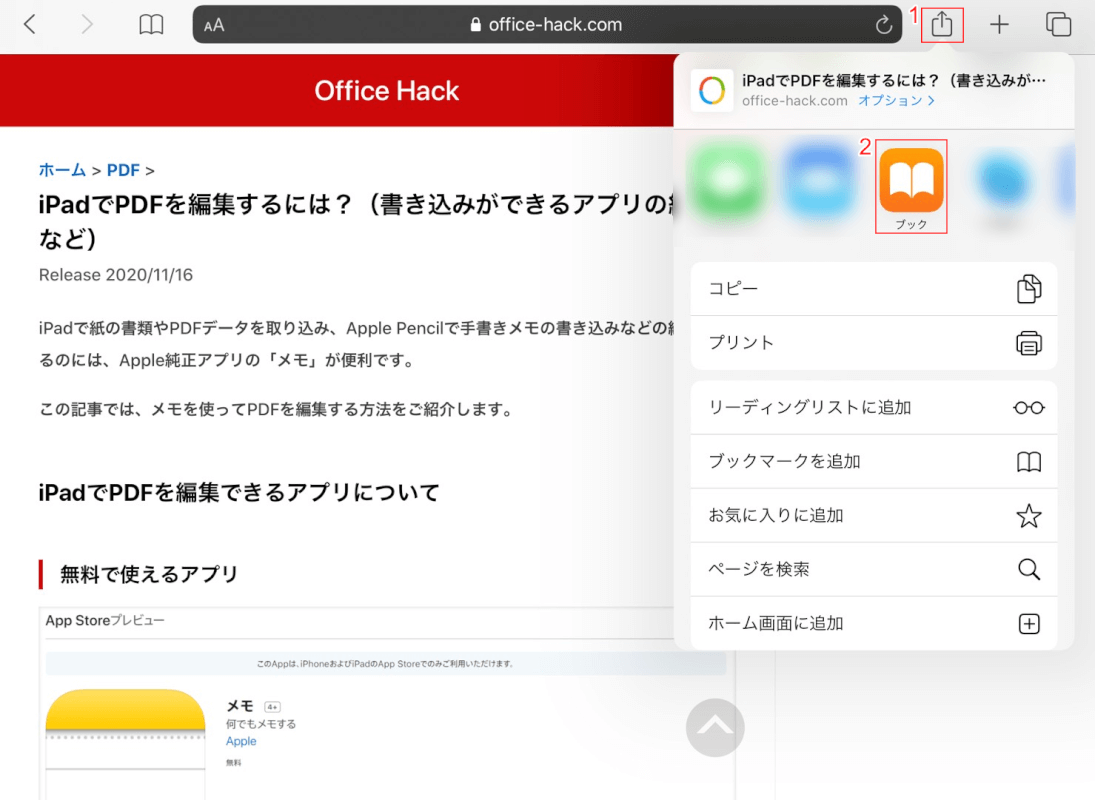
PDFに変換したいWebページを開きます。①【共有】、②【ブック(Apple Books)】を選択します。

Apple Booksに、WebページをPDF化したデータが読み込まれました。【読み込んだPDF】を選択します。
メモを書き加える
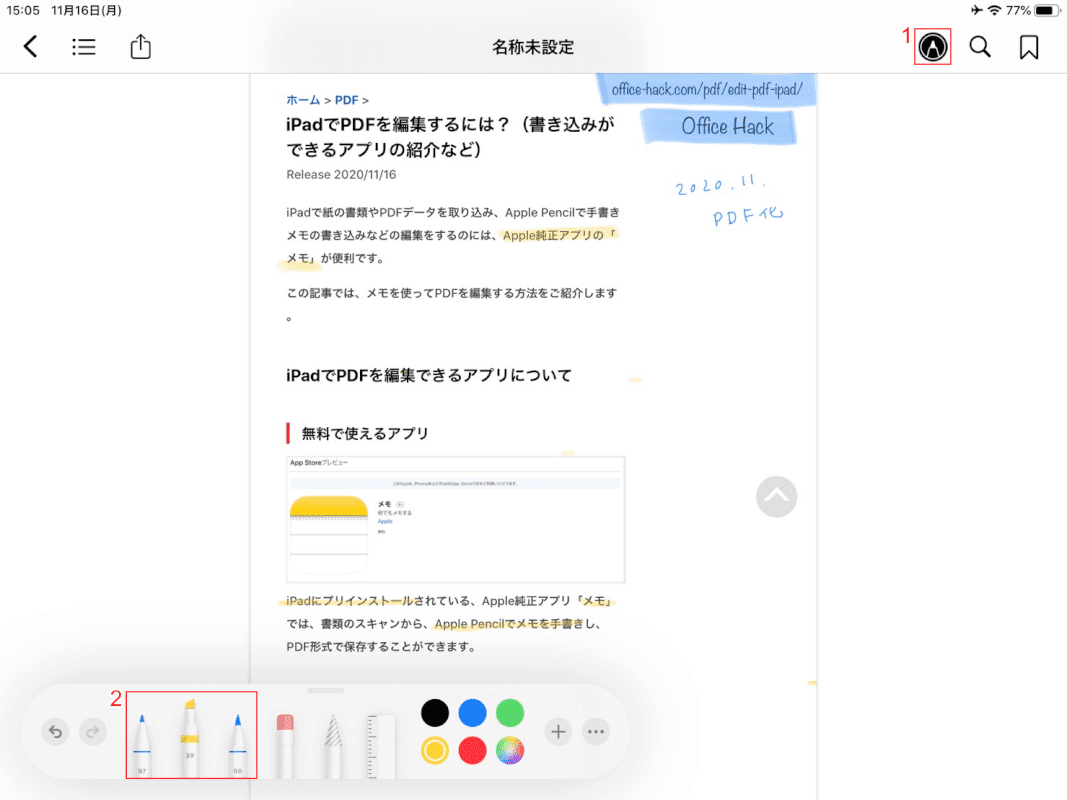
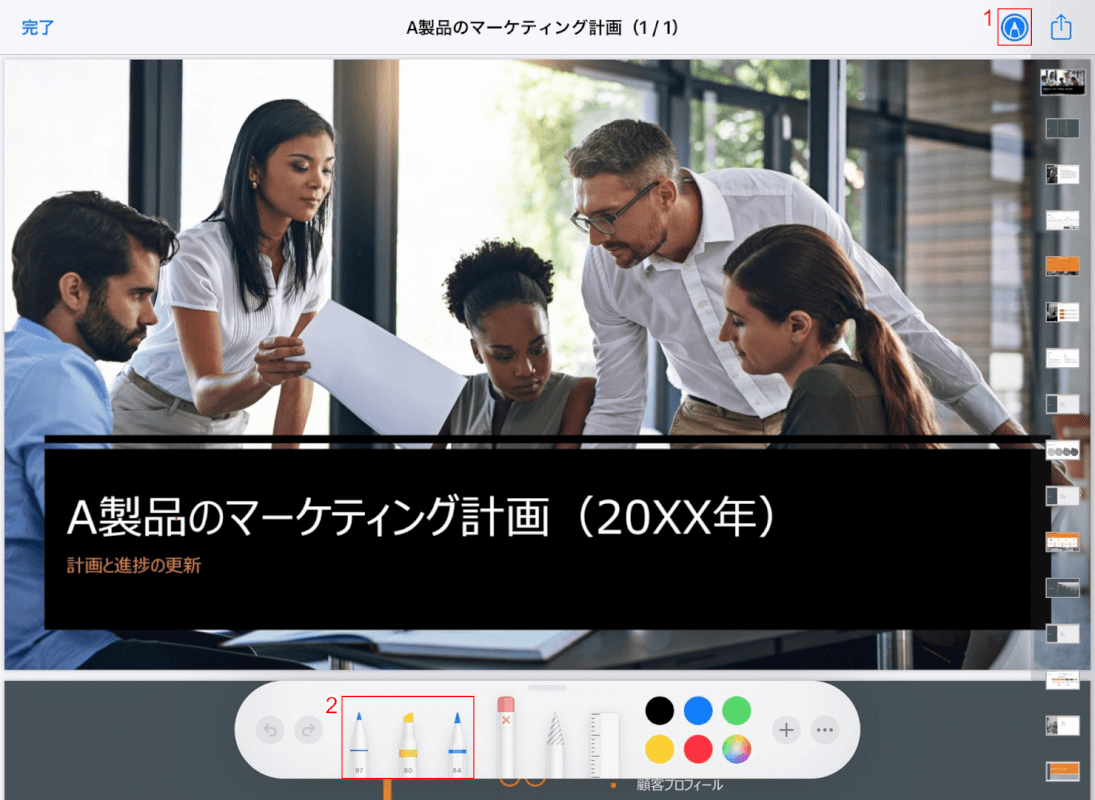
①【ペン】を選択し、②ペン、マーカー、色鉛筆から【使用するペン】を選び、メモを書き加えます。
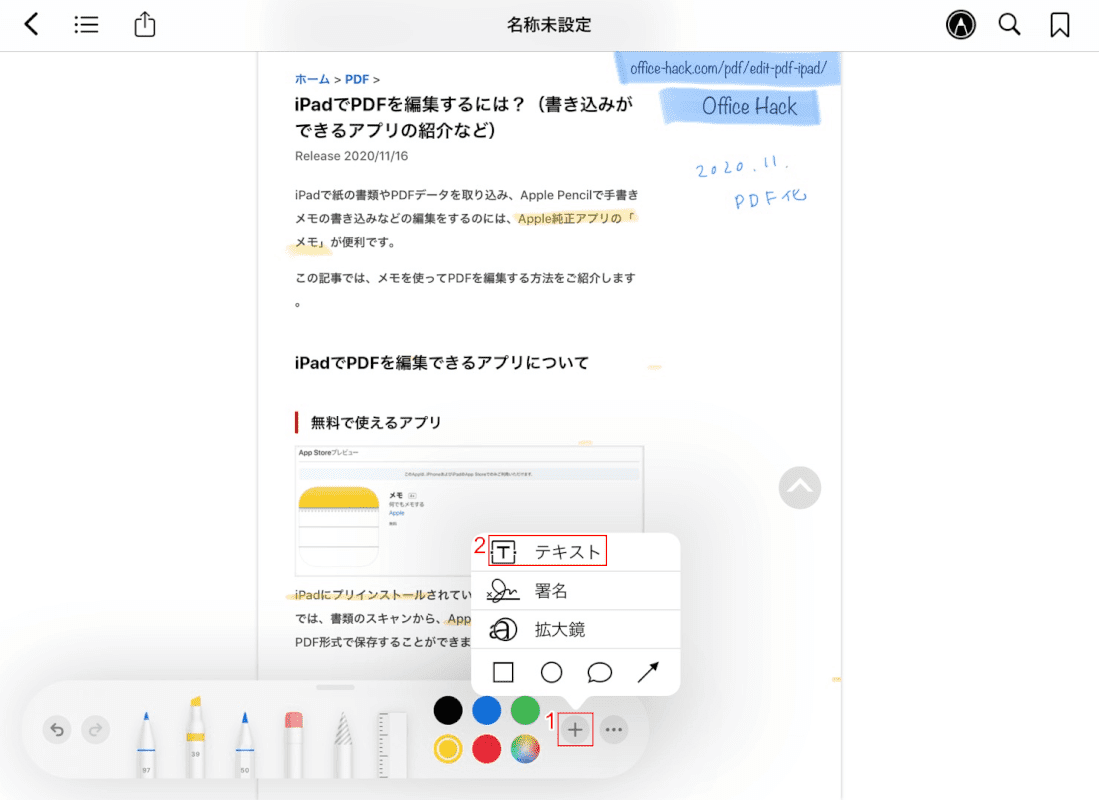
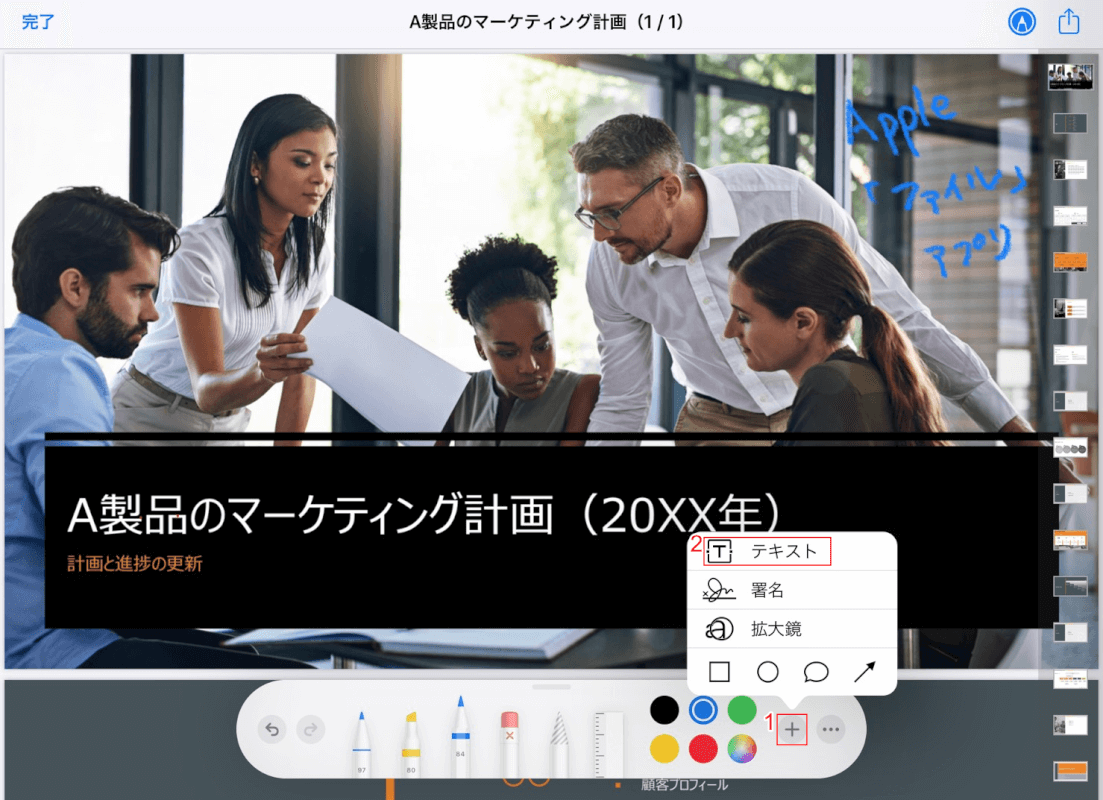
テキストを入力する場合は、①【+】、②【テキスト】の順に選択します。
PDFが上書き保存される

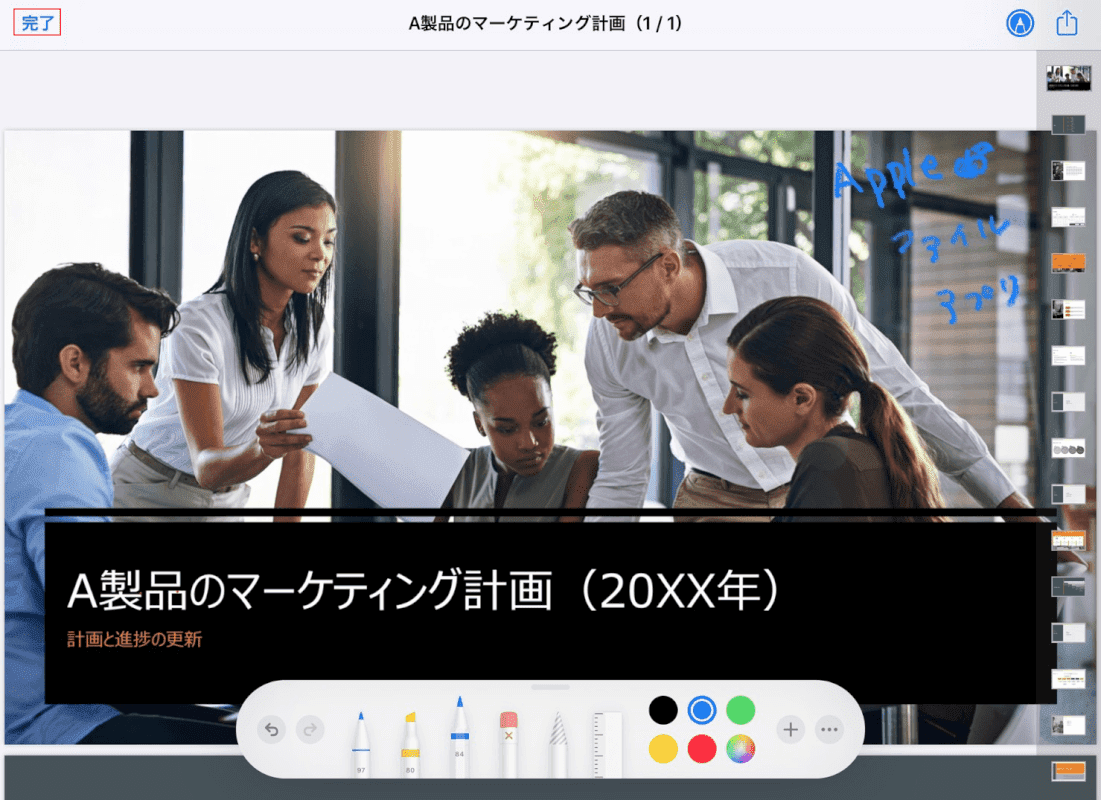
書き込みやテキスト入力が終わったら、【戻る】を選択します。
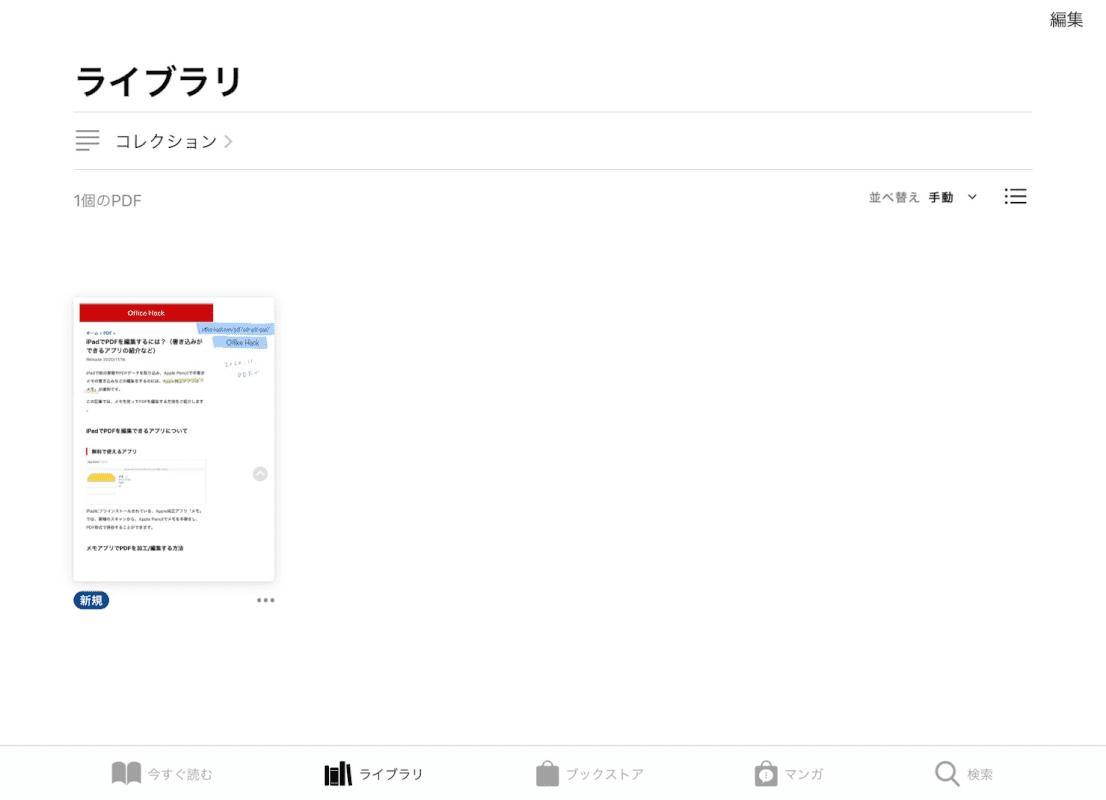
書き込み済みのPDFがApple Booksに保存されました。
メモの場合
このセクションでは、「メモ」アプリで保存したPDFにメモを書き込み、編集後のPDFを保存する方法をご紹介します。
PDFを保存する

①【共有ボタン】、②【メモ】の順に選択します。
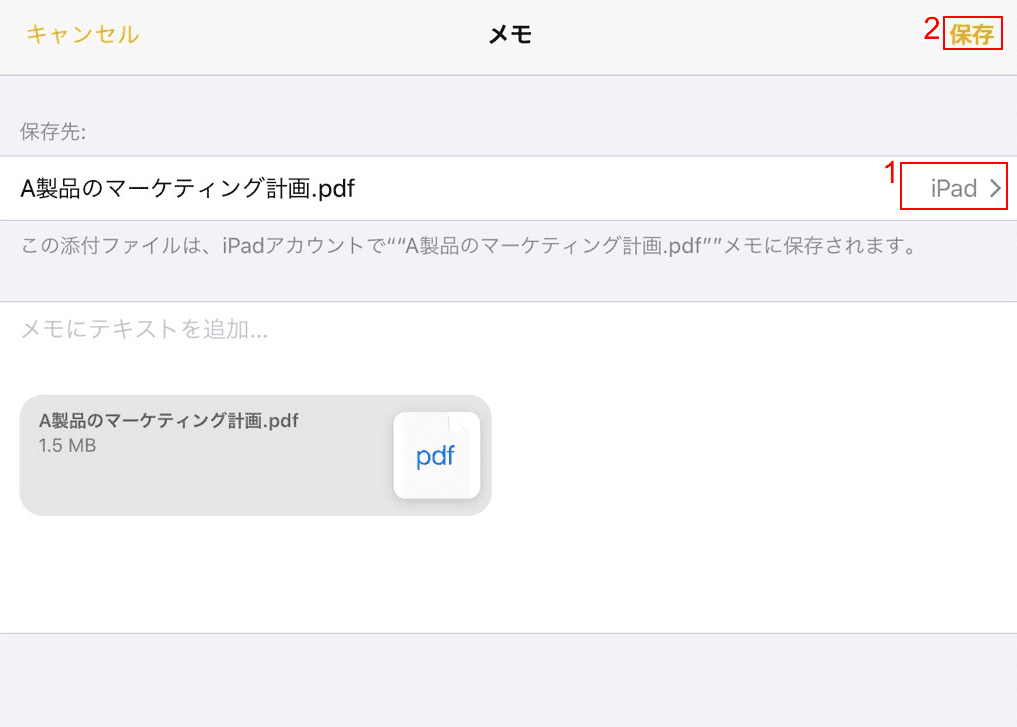
メモの保存先をiPadかiCloudから選択します。今回は、①【iPad】を選択し、②【保存】を選択します。
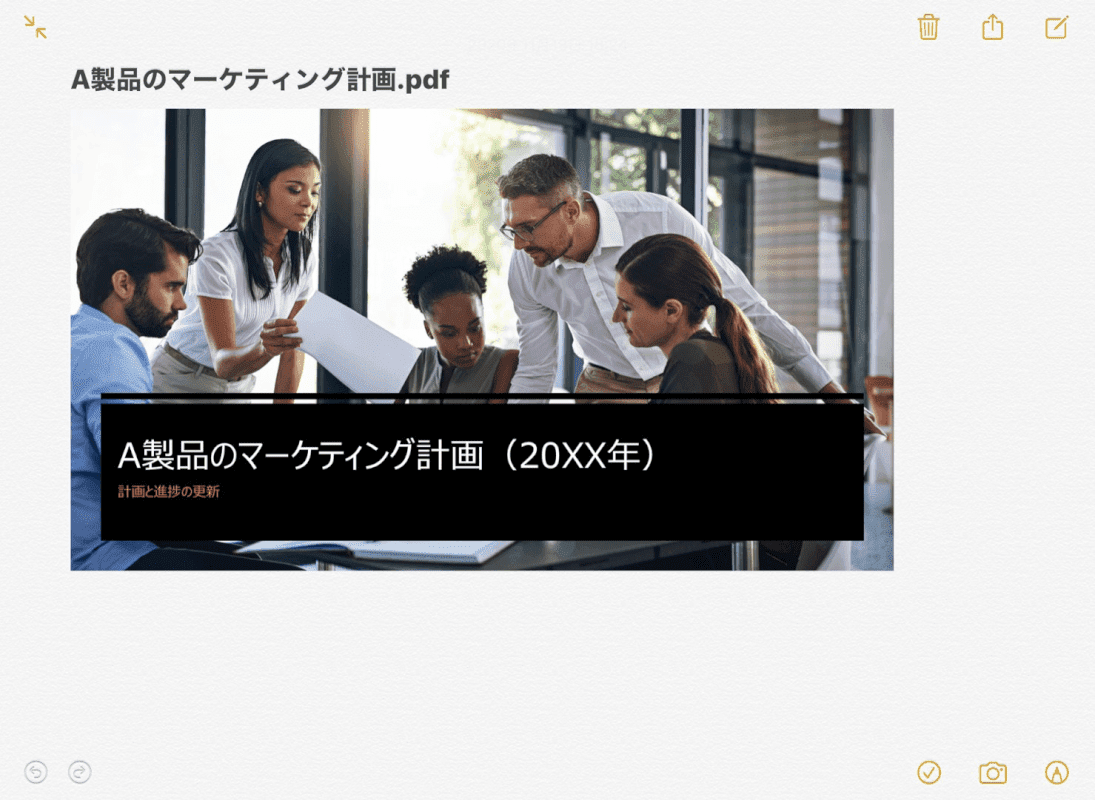
メモアプリにPDFが保存されました。
Apple Pencilでメモを加える
下記記事の「Apple Pencilで書き込みをする方法」に、Apple Pencilでメモアプリ上のPDFに書き込みをする方法がございます。ご参照ください。
iPadでPDFを編集するには?(書き込みができるアプリの紹介など)
PDFを新規保存する

書き込んだPDFは「メモ」に自動で保存されます。「メモ」アプリ以外に保存する場合は、①【共有】、②【"ファイル"に保存】の順に選択します。
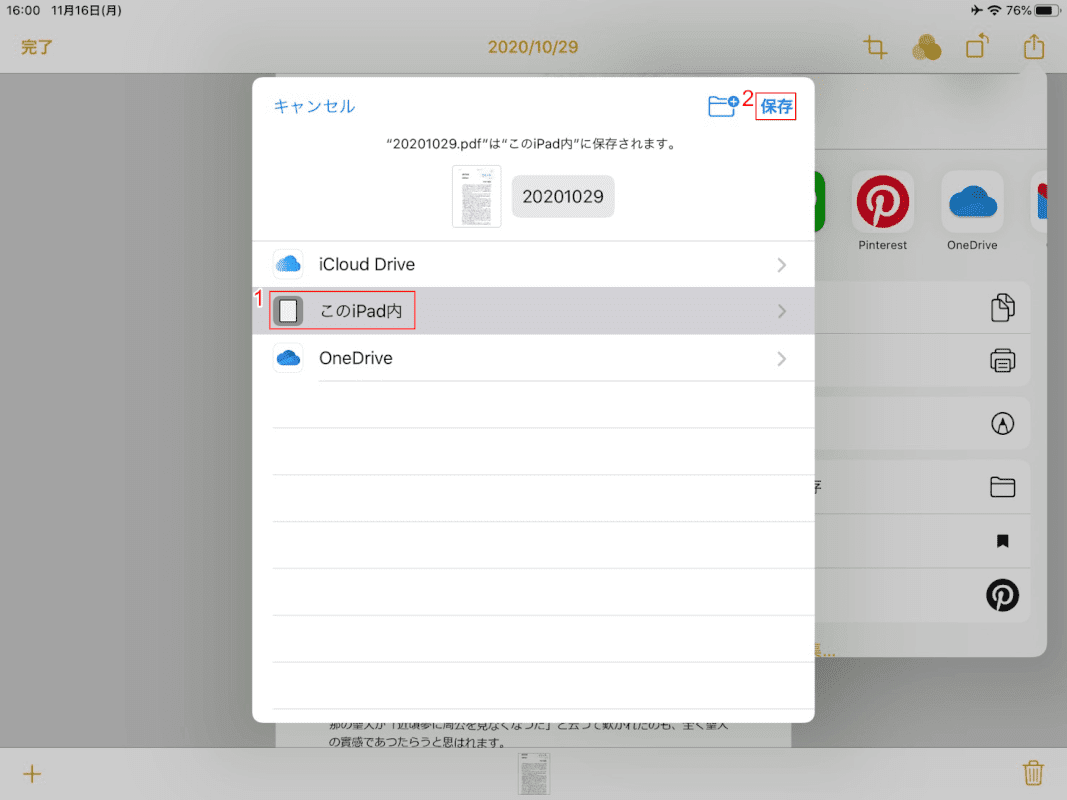
①【このiPad内】、②【保存】の順に選択します。iPadに書き込み済みのPDFが保存されました。
今回はiPadを選択しましたが、iCloudやOneDriveなどのクラウドを保存先に選ぶことも可能です。
ファイルの場合
iCloudでは、iPad本体およびiCloudに保存したPDFに、書き込みを加えることが可能です。
PDFを開く
ファイルアプリを起動します。

【保存したPDF】を選択し、開きます。
メモを書き込む
①【ペン】を選択し、②ペン、マーカー、色鉛筆から【使用するペン】を選び、メモを書き加えます。
テキストを入力する場合は、①【+】、②【テキスト】の順に選択します。
メモやテキストの追加が完了したら【完了】を選択します。自動で上書き保存されます。
OneDriveの場合
PDFを開く
【OneDrive】を選択し、起動します。
【保存したPDF】を選択し、開きます。
書き込みをする

【ペン】を選択します。

3色ペンとマーカーから【使用するペン】を選択し、メモを書き込みます。
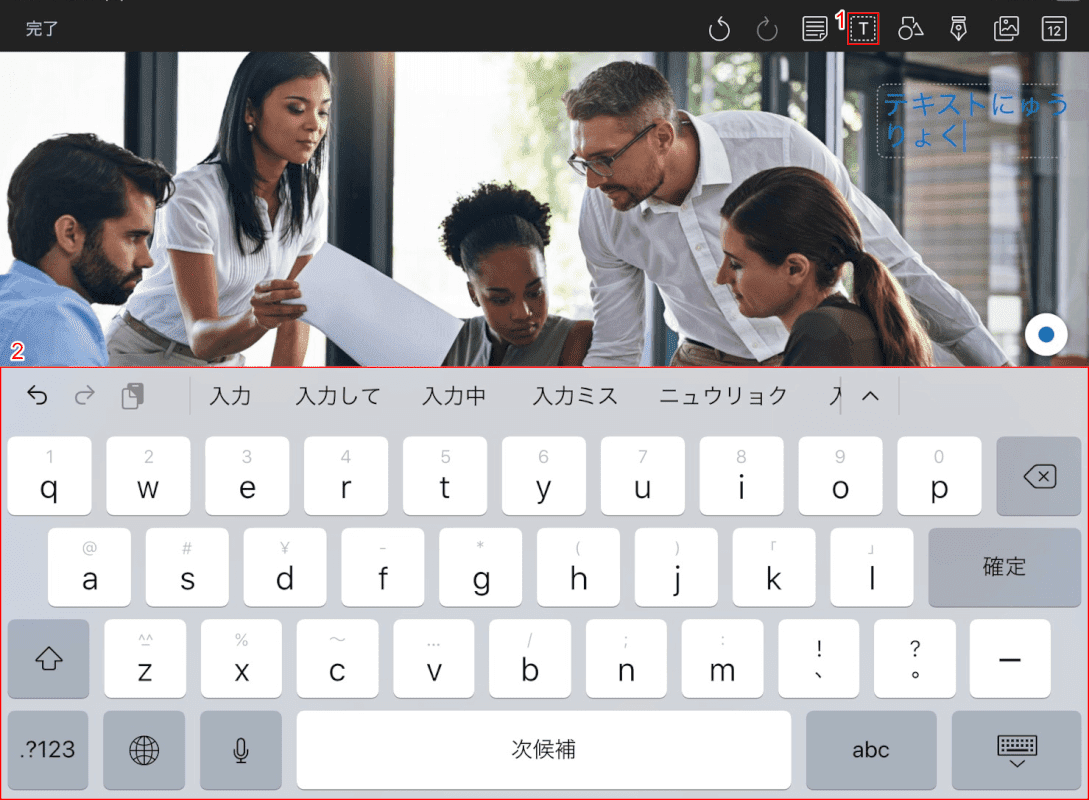
テキストを入力したい場合は、①【テキスト】を選択し、②【キーボード】でテキストを入力します。入力が完了したら、画面内の適当な個所をタップします。
PDFが上書き保存される

すべての編集が終わったら、【完了】を選択します。PDFが上書き保存されます。
写真をPDFで保存する方法
iPadでは、写真アプリとApple Booksを使って、写真をPDFに変換し、保存することが可能です。
写真を開く
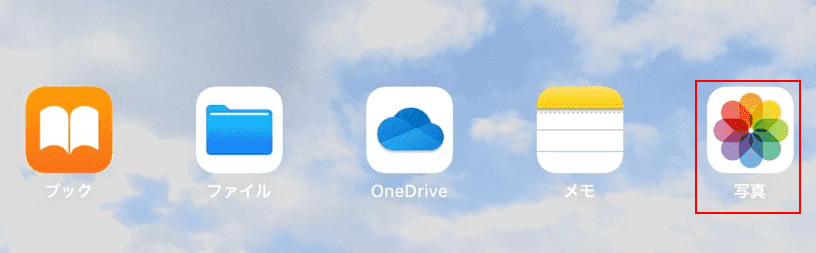
【写真】を選択し、起動します。
写真を選択する
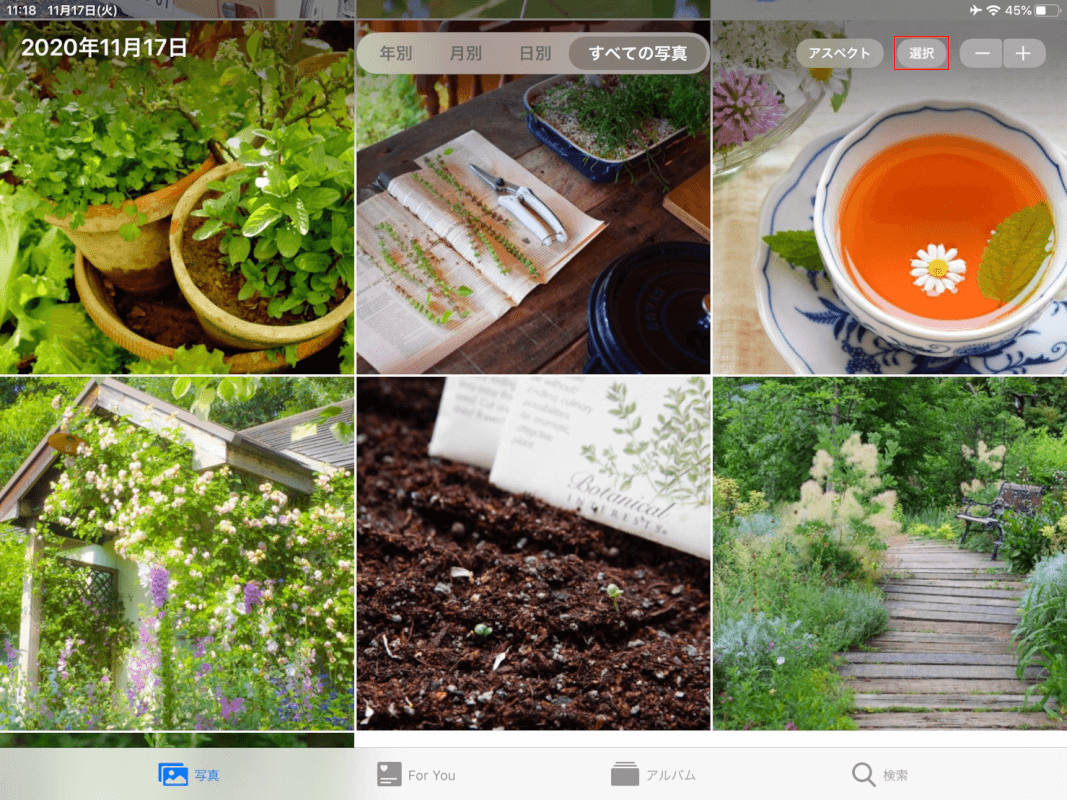
【選択】を選びます。

PDF化したい写真を選び、【共有】を選択します。
Apple Booksを起動し、PDF化する

【ブック(Apple Books)】を選択します。
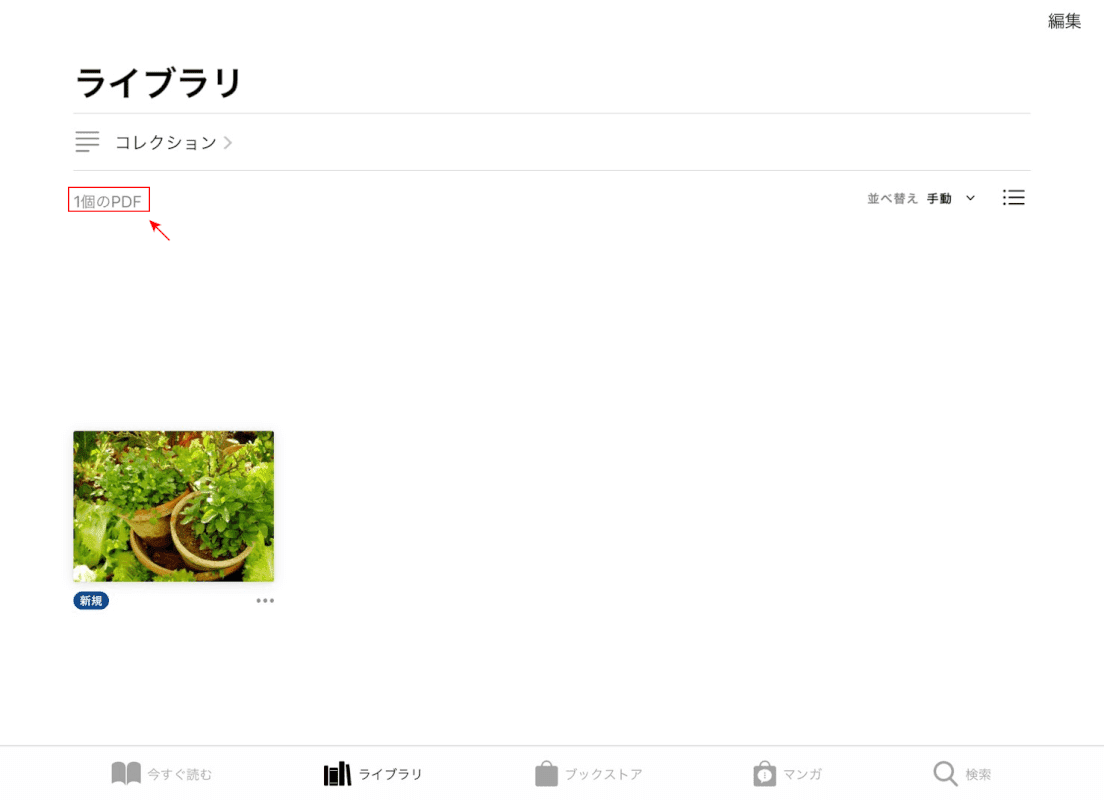
写真のPDFへの変換が完了し、ブック(Apple Books)が開きました。
写真をPDF化できたことは、ファイルの種類で確認することができます。
PDFを別の場所に保存する

①【ファイル】、②【"ファイル"に保存】の順に選択します。
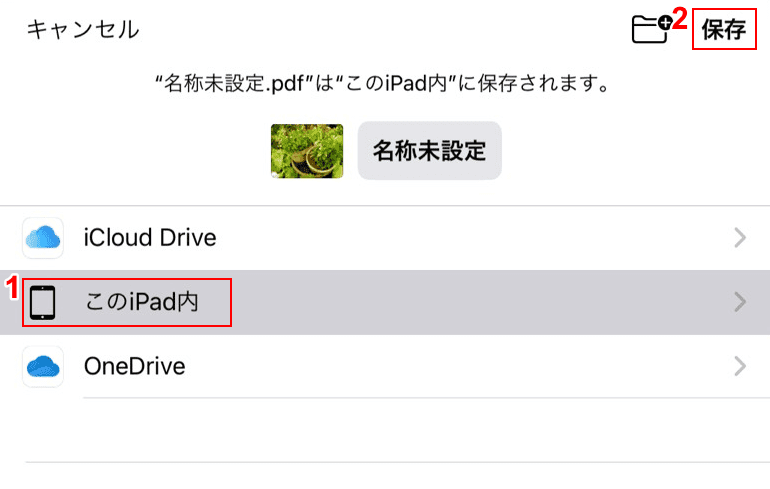
①【このiPad内】、②【保存】の順に選択します。PDFがiPadに保存されました。
今回は、iPad本体に保存しましたが、iCloudやOneDriveなどのクラウドにも同様に保存することができます。
ExcelをPDFで保存する方法
ExcelをPDFで保存するには、Excelアプリを使う方法と、Web版のExcelを使う方法があります。
ExcelでPDFを作成し、保存する
10.1インチ以下のiPad、もしくはMicrosoft 365のサブスクリプションを利用している場合であれば、Excelアプリを利用し、PDFを作成することができます。
下記の記事に、iPadでExcelなどのOfficeアプリを利用できる「Microsoft Office Mobile」について記載しておりますご参照ください。
Microsoft Office Mobileとは?(PC版の違いや無料の範囲など)
このセクションでは、iPad用のアプリ版Excelを使って、PDFを作成し保存する方法をご紹介します。
Excelを起動する
【Excel】を選択し、起動します。
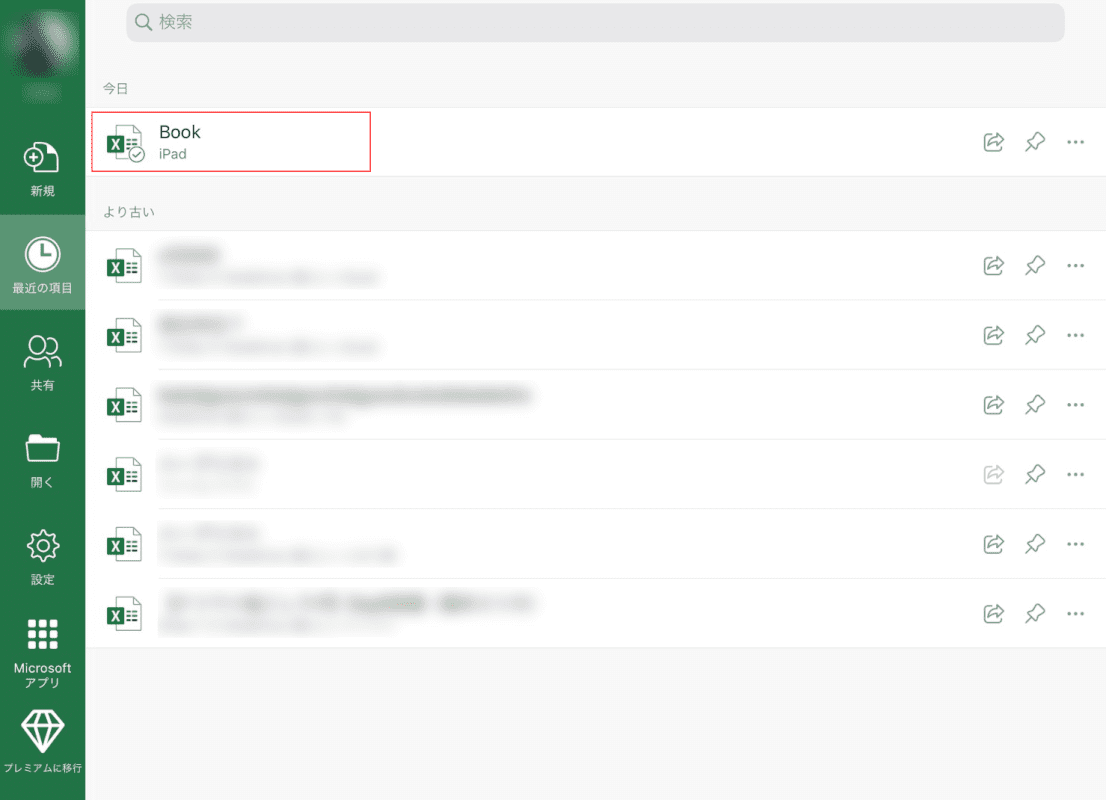
PDF化したいExcelを開きます。今回は【Book】を選択します。
エクスポートを選択する
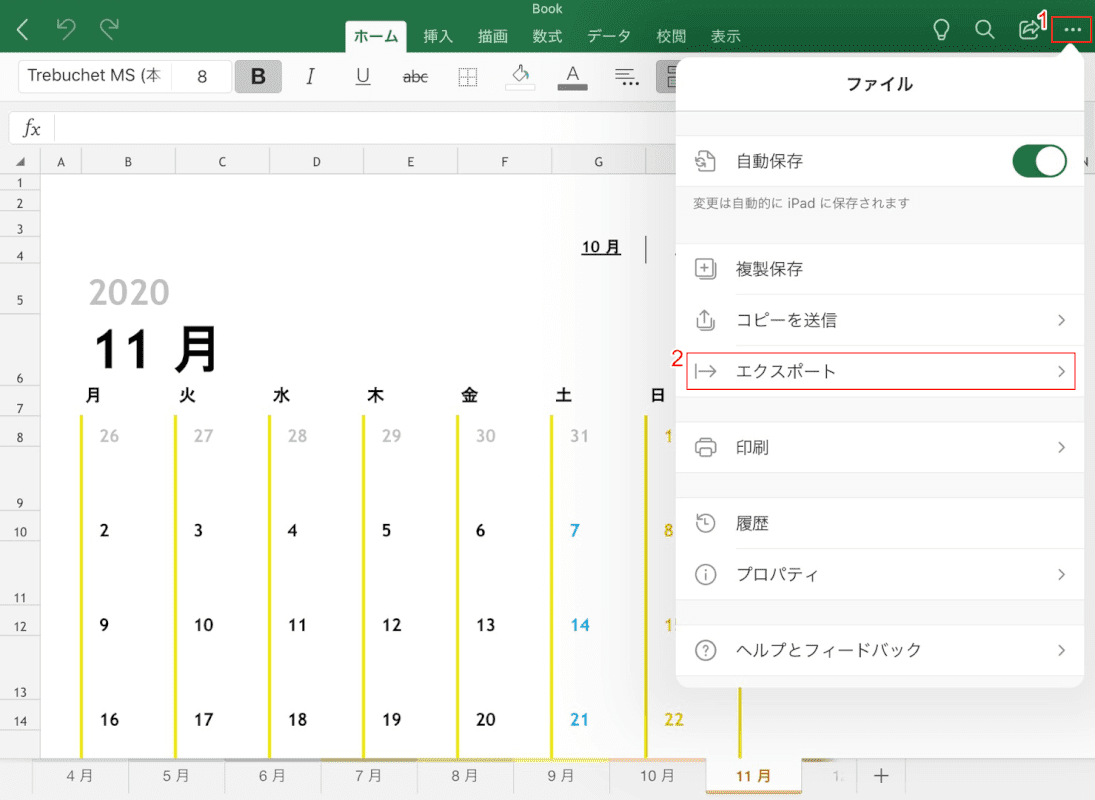
①【ファイル】、【エクスポート】の順に選択します。
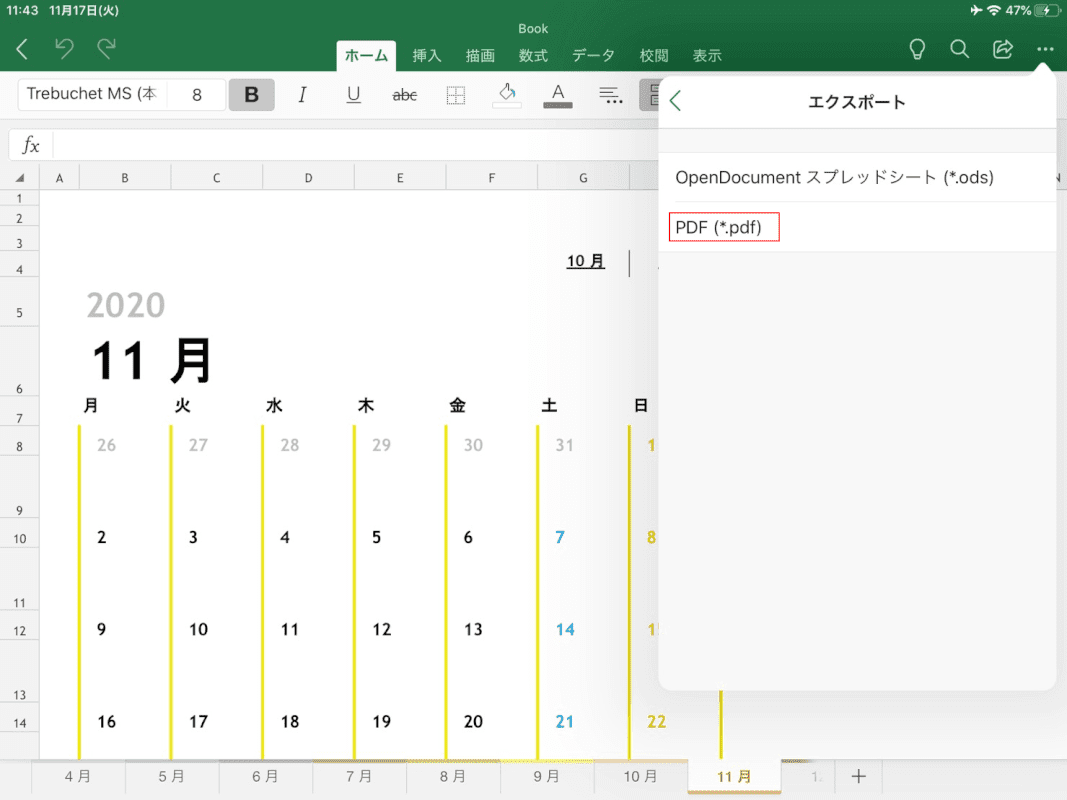
【PDF】を選択します。

①【PDFの書式の設定内容】、②【次へ】の順に選択します。
PDFが出力される
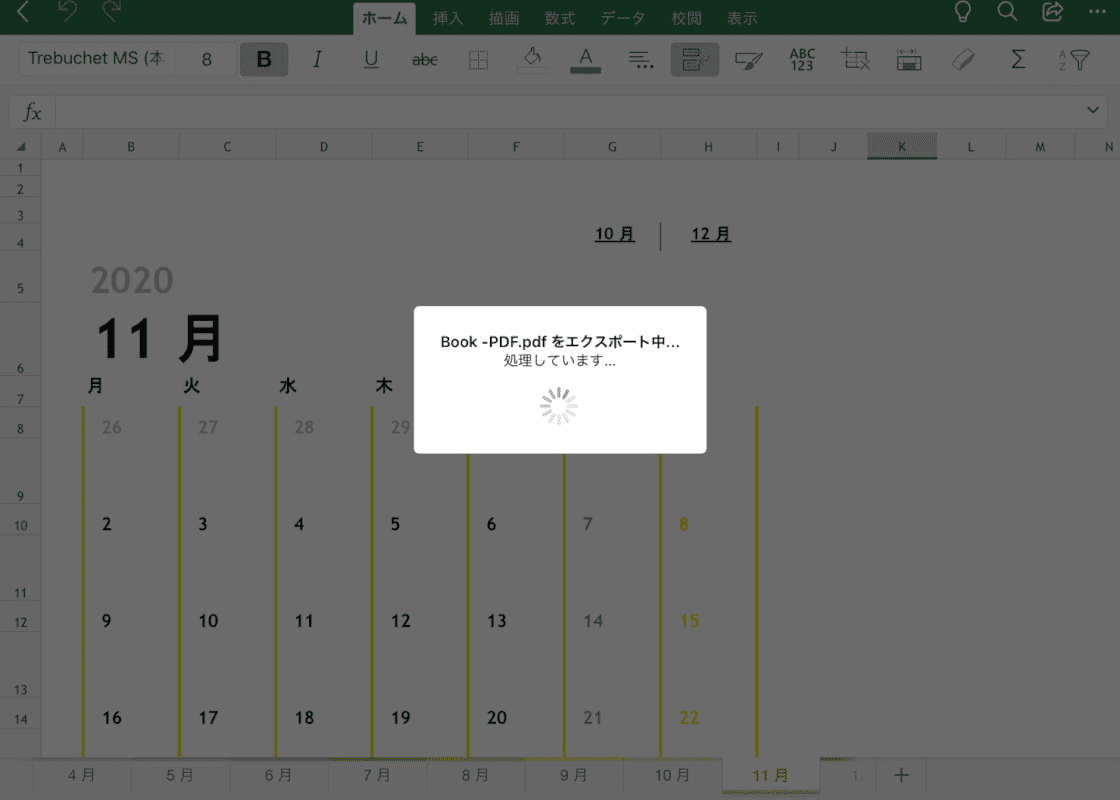
PDFへエクスポート(出力)されます。しばらくすると出力が完了します。
OneDriveからPDFを作成し保存する
iPadが10.1インチより大きく、Microsoft 365のサブスクリプションを利用していない場合でも、Web版のExcelを使って、PDFを作成することができます。
Web版のMicrosoft Office「Microsoft Office Online(旧Office Online)」のExcelについての詳細は、下記の記事をご参照ください。
このセクションでは、Web版のExcelを使って、PDFを作成し保存する方法をご紹介します。
OneDriveでExcelを開く
SafariなどのブラウザでOneDriveにサインインする方法については、下記記事の「Microsoft Office Onlineを使う」をご参照ください。
PDF化したいExcelを開く
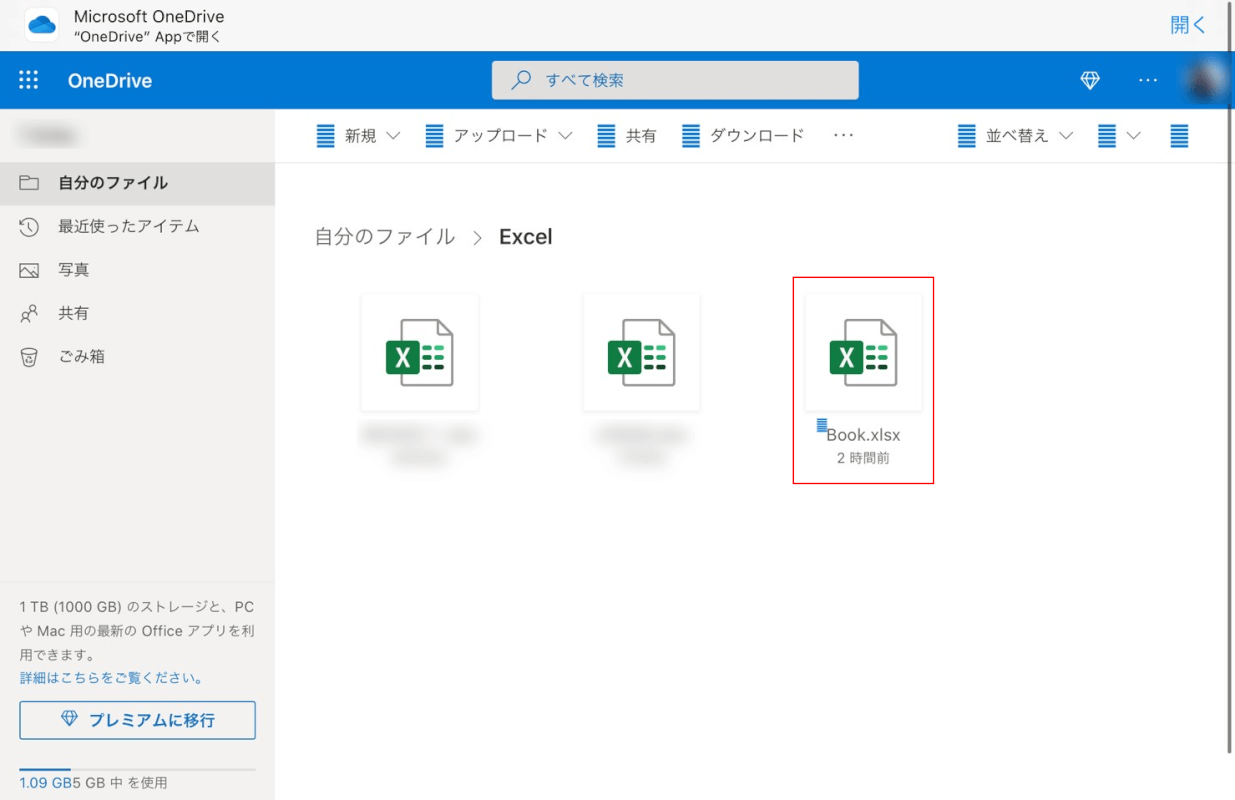
PDF化したいExcelを開きます。今回は【Book】を選択します。
PDFに出力する
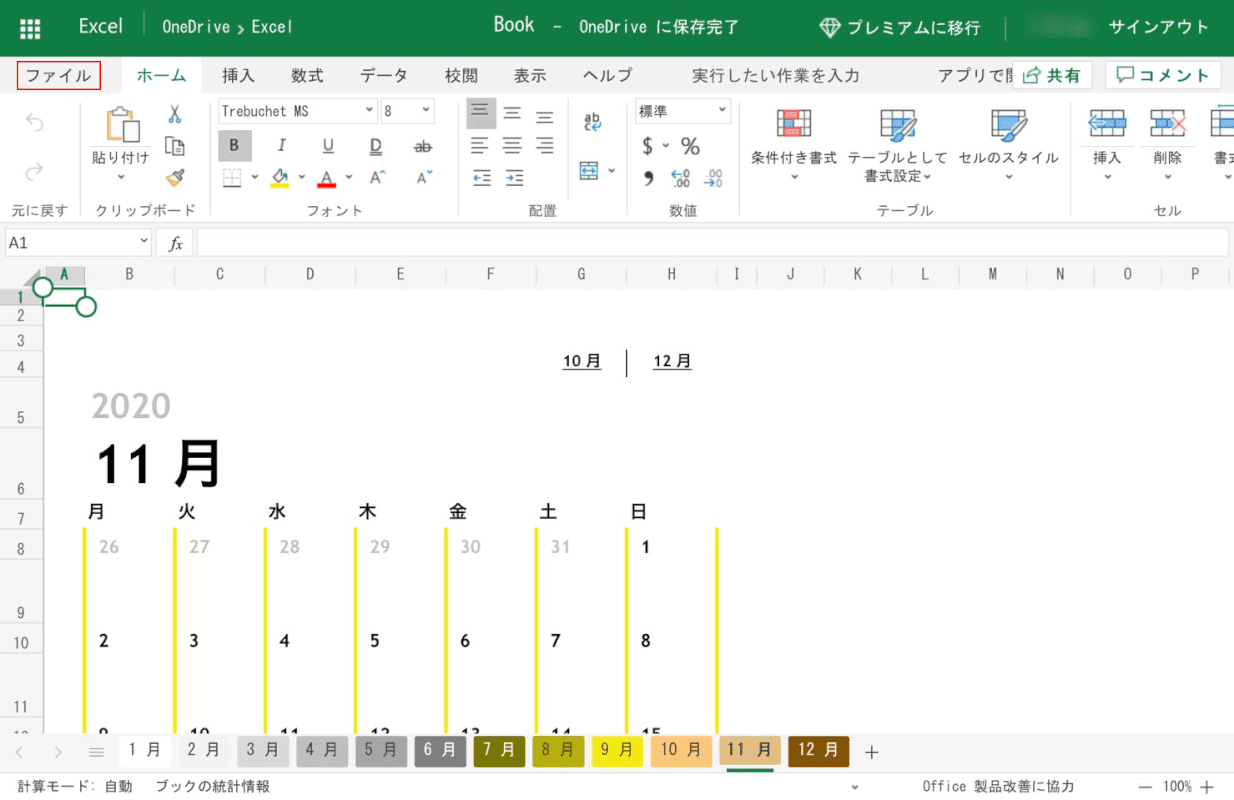
【ファイル】を選択します。
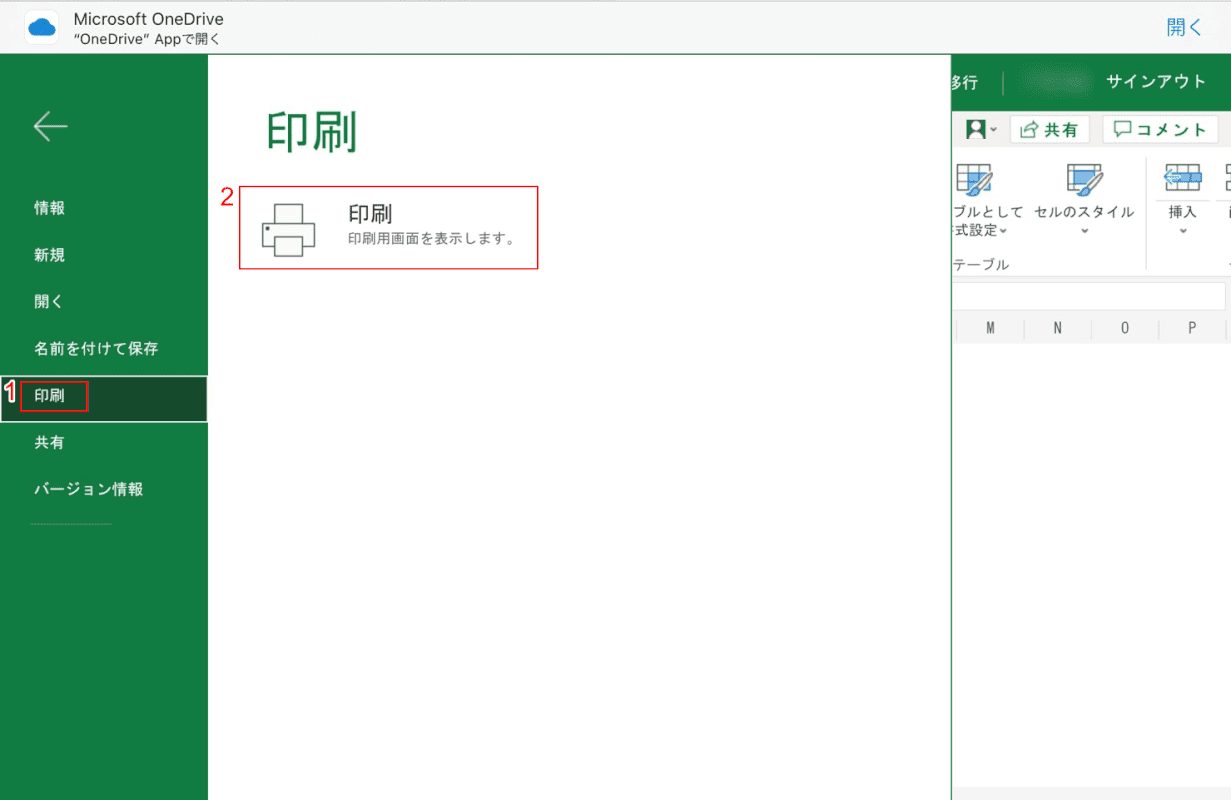
①【印刷】タブ、②【印刷】の順に選択します。
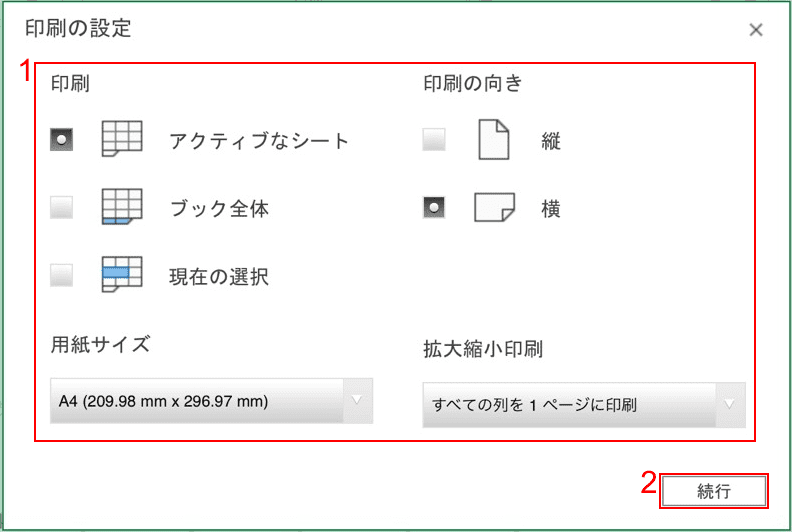
①【印刷の設定内容】を選択し、【続行】ボタンを押します
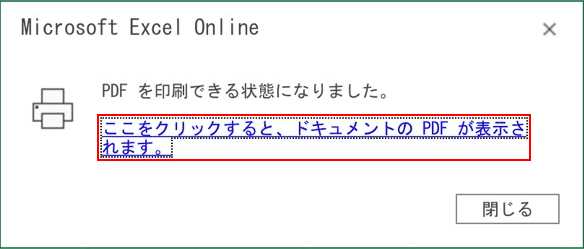
【ここをクリックすると、ドキュメントのPDFが表示されます。】を選択します。
PDFを保存する
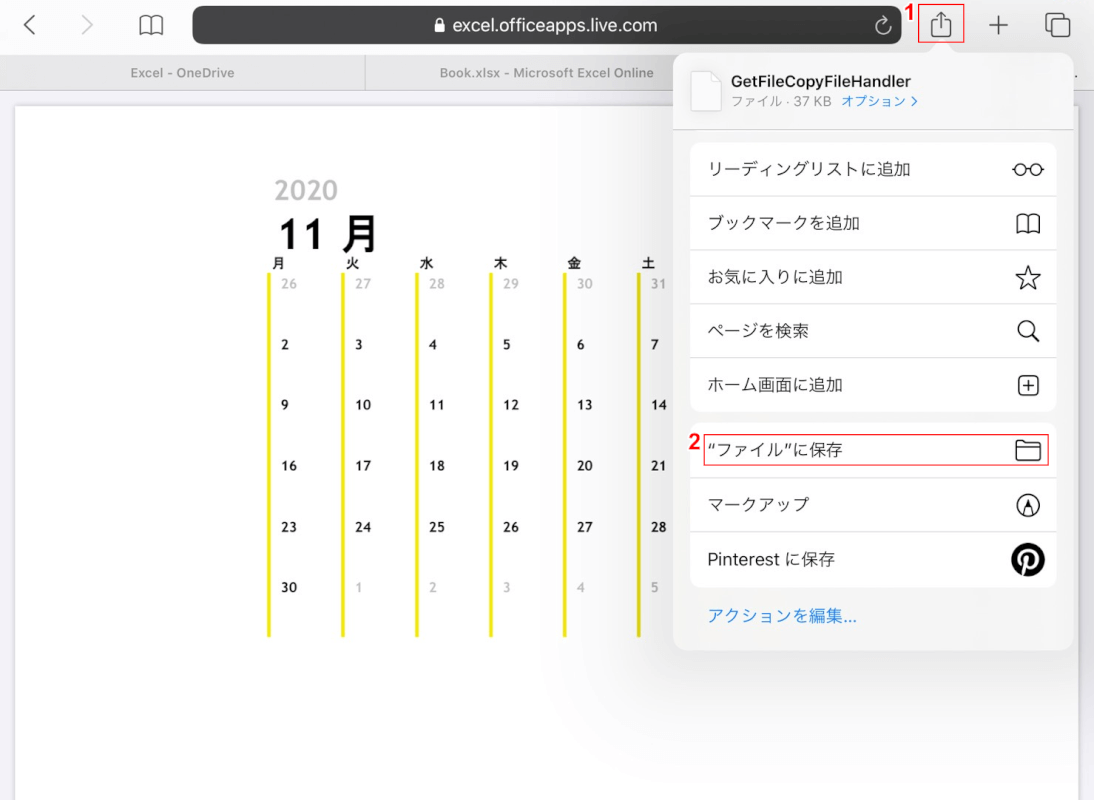
PDFが表示されました。①【共有】、②【"ファイル"に保存】の順に選択します。
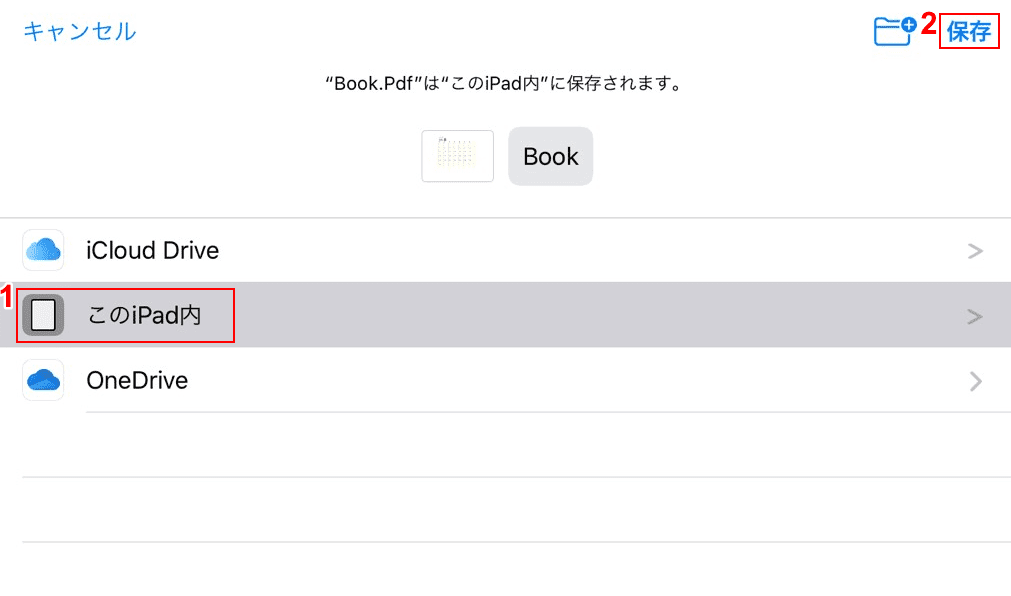
①【このiPad内】、②【保存】の順に選択します。PDFがiPadに保存されました。
今回は、iPad本体に保存しましたが、iCloudやOneDriveなどのクラウドにも同様に保存することができます。
パソコンからiPadにPDFを保存する方法
パソコンからiPadにPDFを保存するには、クラウドの利用が便利です。
iCloudを利用する
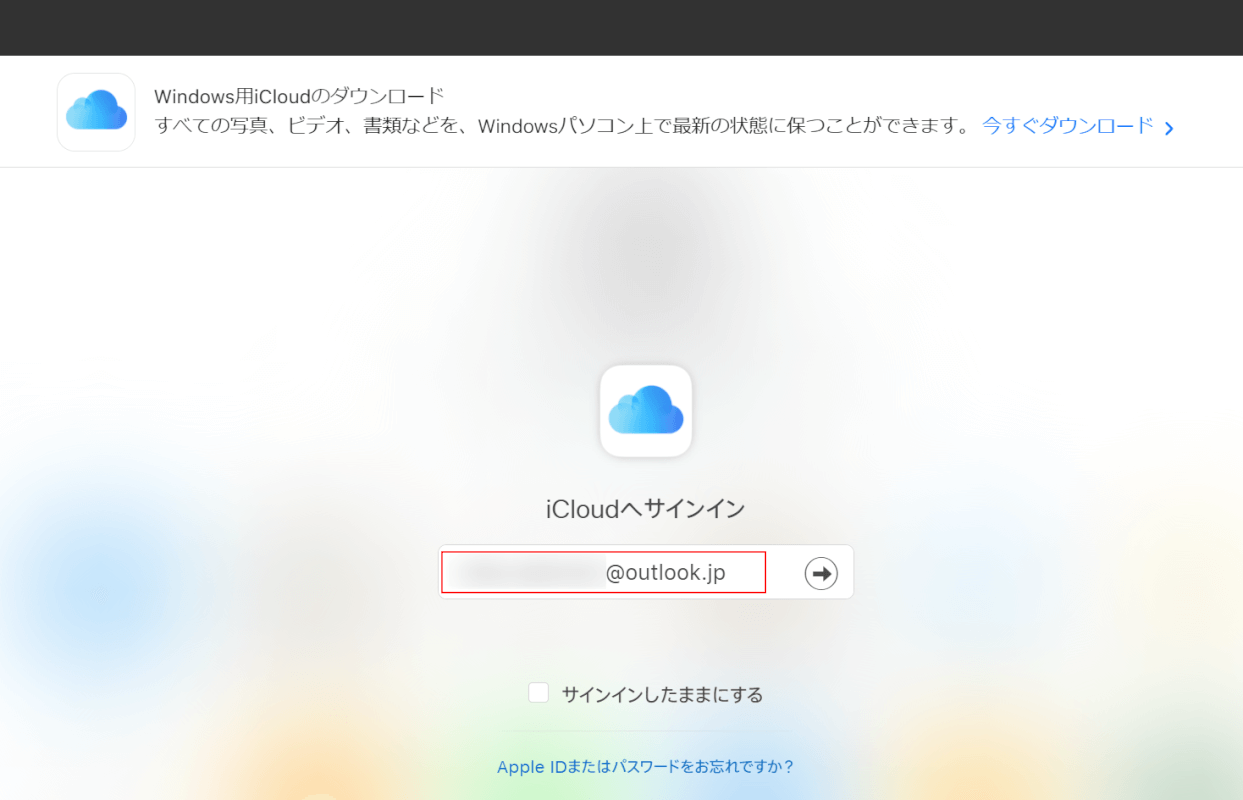
パソコンでWeb版のiCloudを開き、Apple IDの『メールアドレス』を入力します。
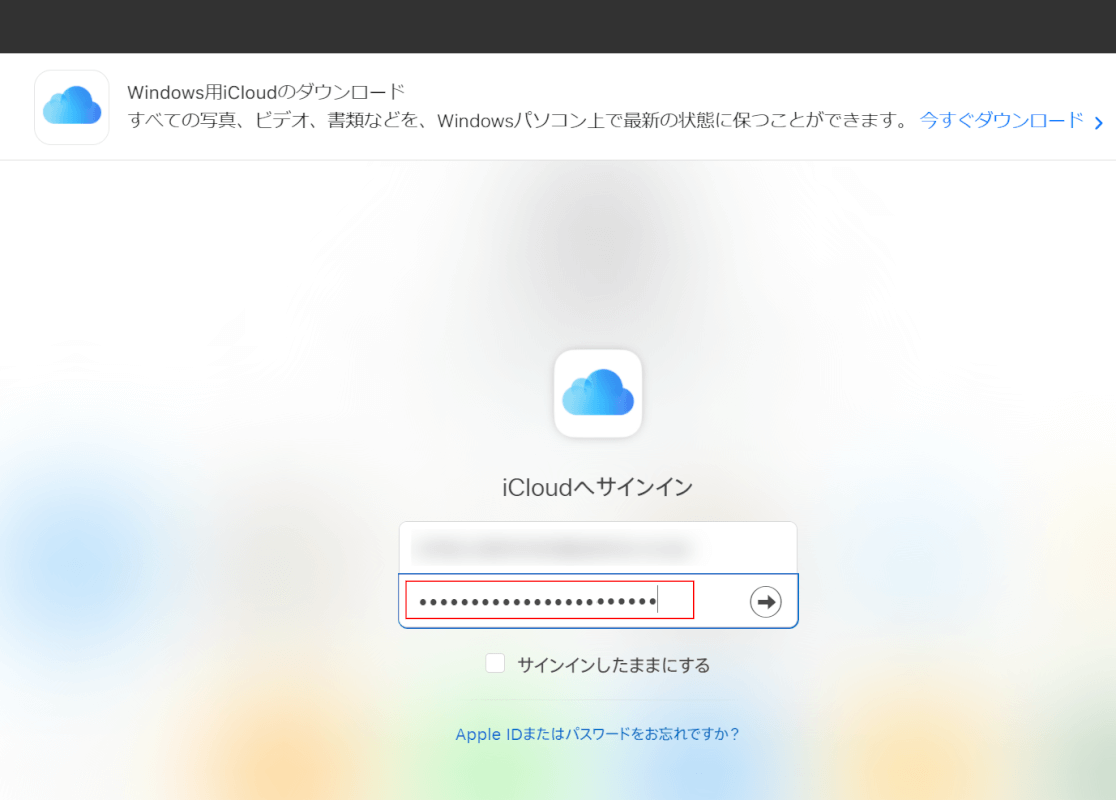
『パスワード』を入力します。
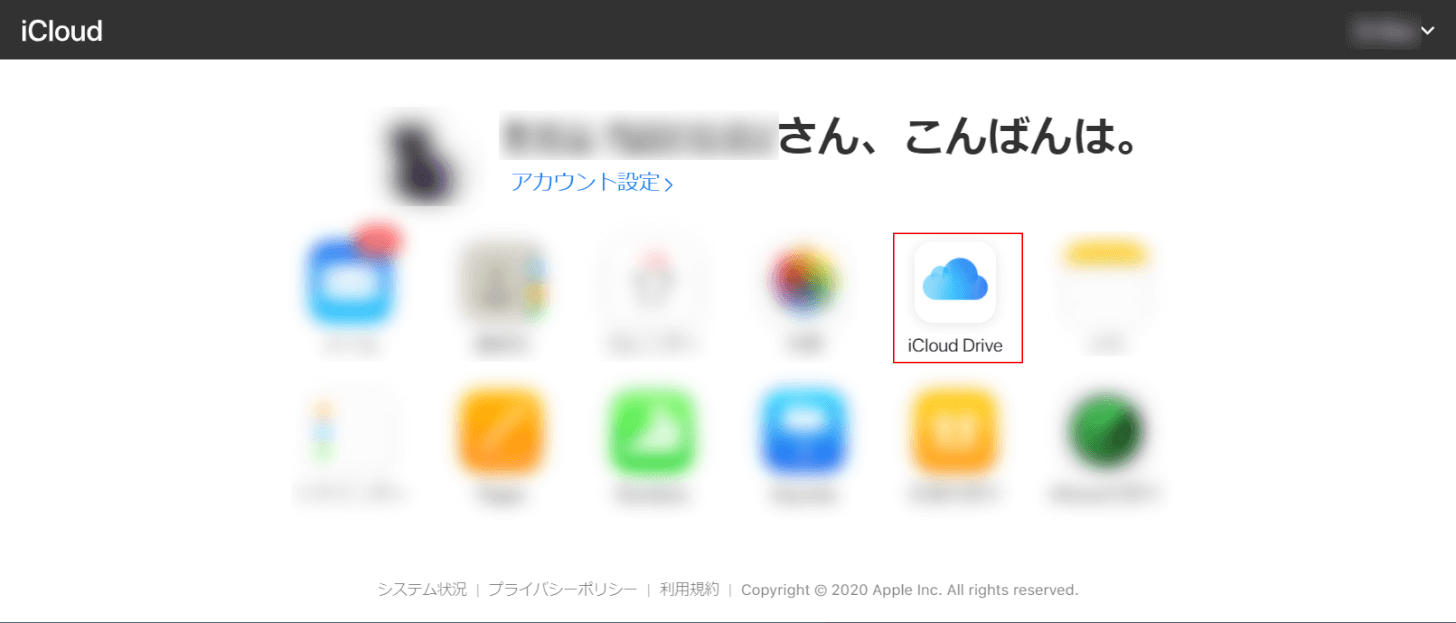
【iCloud Drive】を選択します。
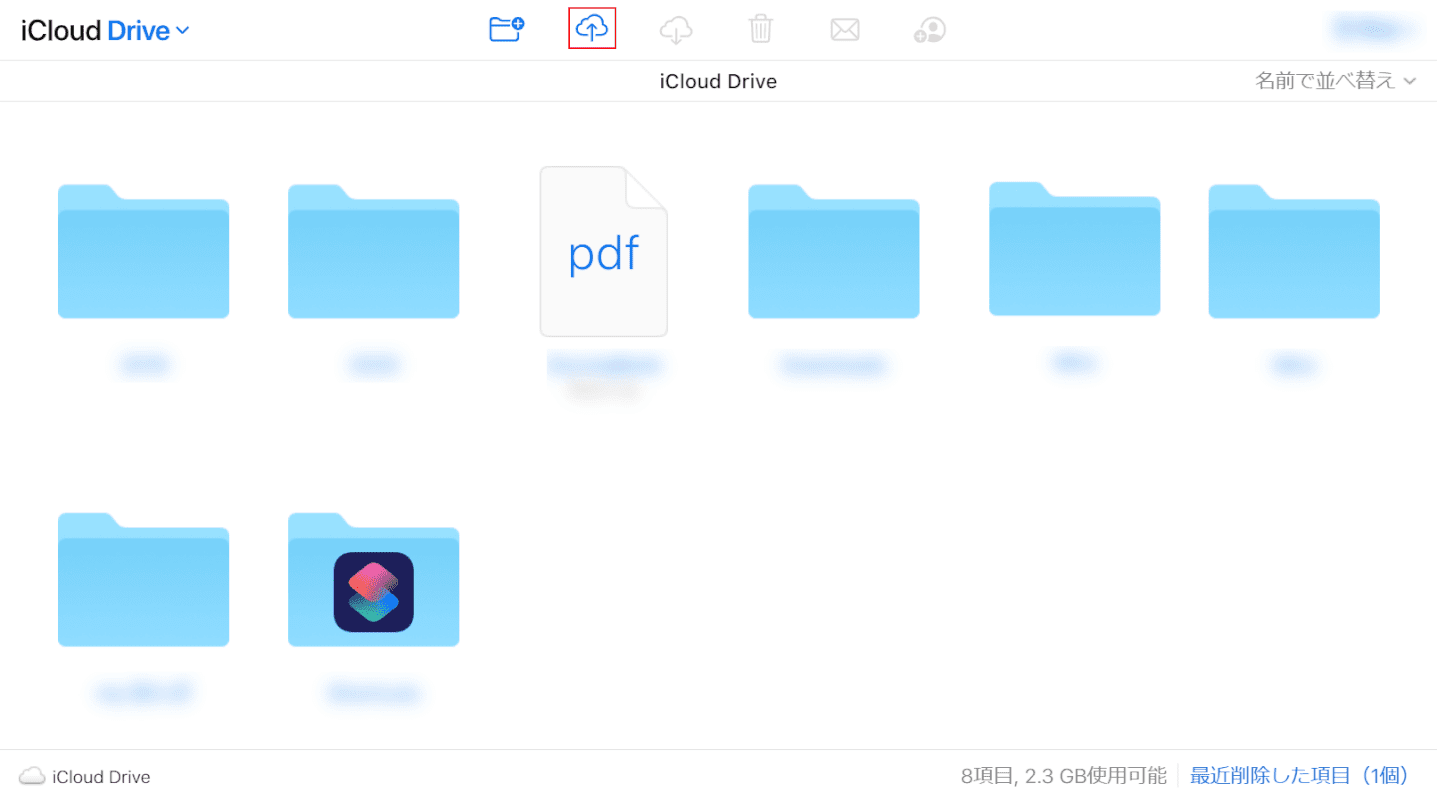
【アップロード】を選択します。

iPadに同期したいPDFファイルを選択します。
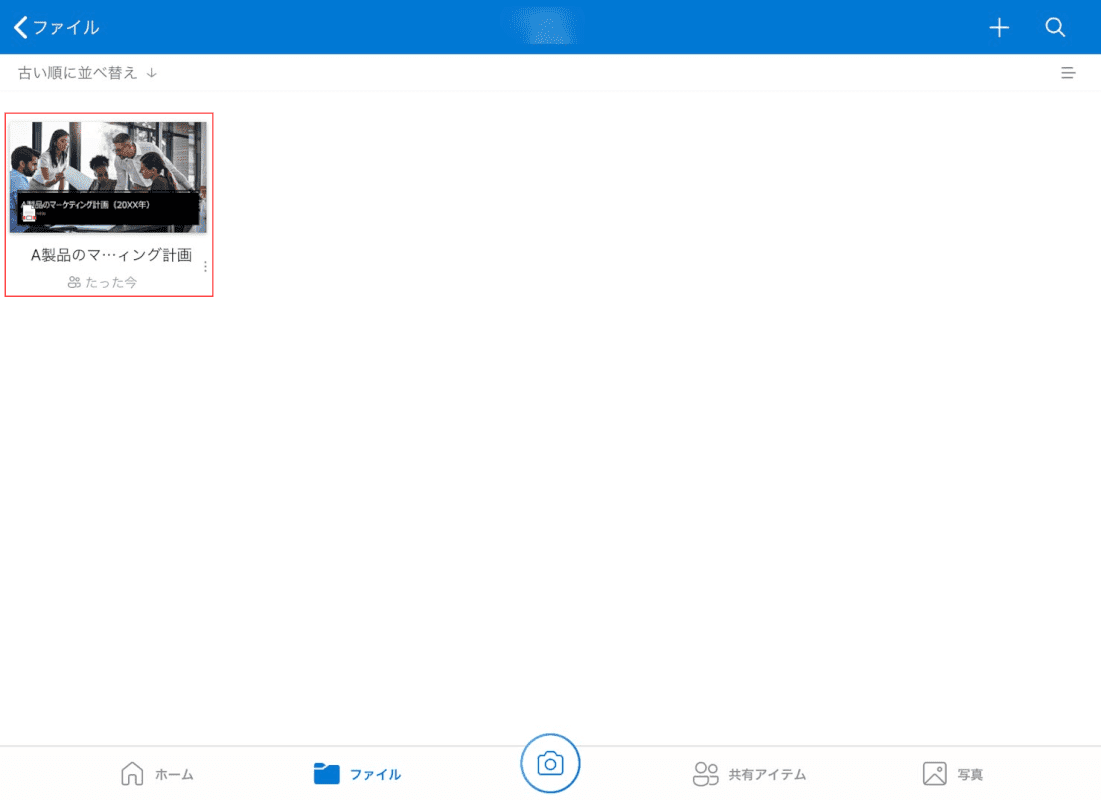
今回は①【iPadに送る書類】、②【A製品のマーケティング計画】の順に選択し、③【開く】ボタンを押します。
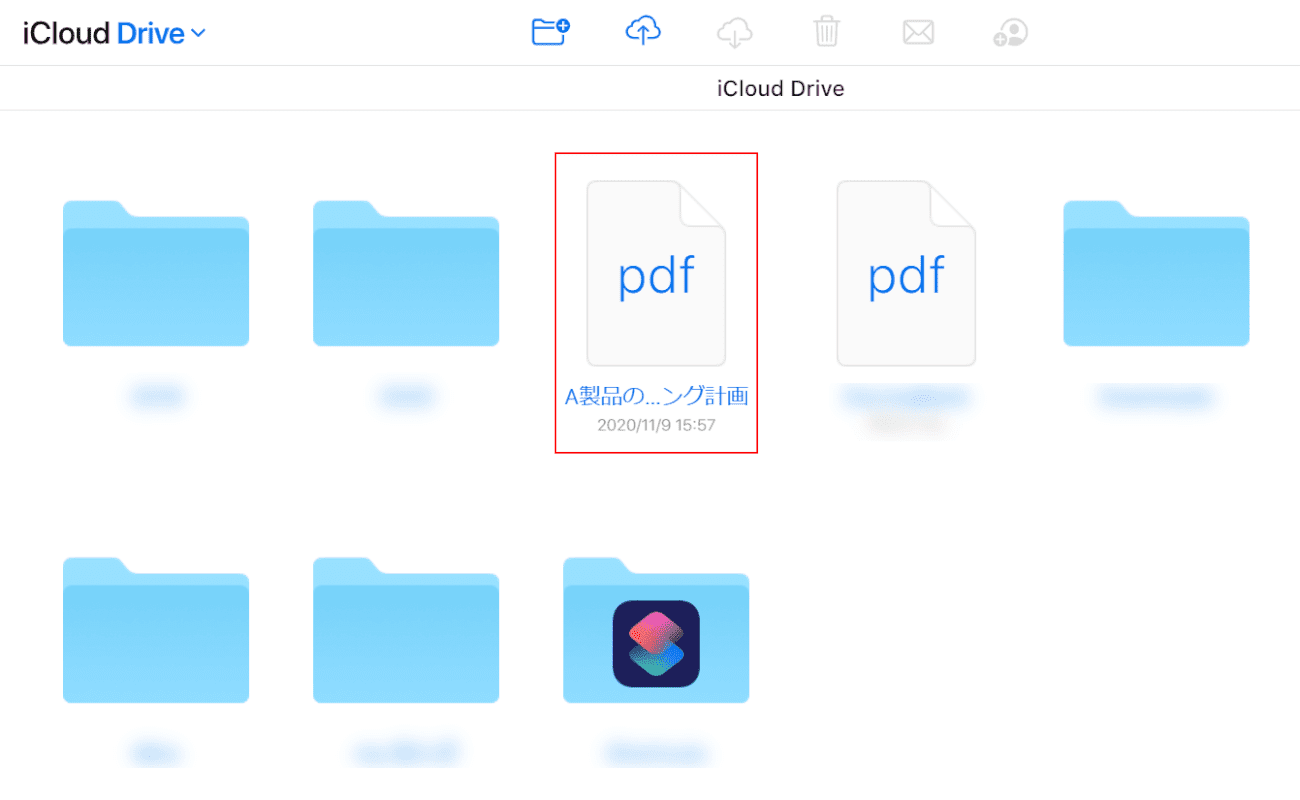
iCloudにPDFが保存されました。
iPadで【ファイル】を開きます。

①【iCloud Drive】を選択します。②先ほどパソコンからアップデートした【A製品のマーケティング計画】の同期が確認できました。
OneDriveを利用する
OneDriveでもiCloudと同様に、PDFファイルを同期することができます。
OneDriveのサインイン方法などは下記記事にございます。
PDFファイルのアップロード方法は、上記セクション「iCloudを利用する」をご参照ください。
Microsoft 365(Office 365)でOneDriveを使う方法
iPadでPDF保存ができないときには?
iPadでメールやSMSなどに添付されたPDFを保存することができない場合は、下記の対応をお試しください。
- 保存先(iPad本体もしくはiCloud)のストレージが足りているかを確認する
- Apple Booksなどのアプリをアンインストールし、再インストールする
- iPadを再起動する
WebページをPDF化して保存ができないときには、Webページに保護がかかっている可能性もあります。その場合には、PDF保存はできません。